


How To Set Up Your Google Business Profile Listing
If you’re a local business, a Google Business Profile listing is essential. Learn how to setup and make the most of your GBP listing.
Updated for 2022
Many e-commerce websites don’t realize that a Google Business Profile can help their businesses rank better. This free tool from Google is not just local brick-and-mortar shops. It’s for any business that could benefit from greater visibility and web traffic.
If you’re wondering how to set up your Google Business Profile and start optimizing your profile, this article is made for you. It will walk you through setup with screenshots and straightforward explanations. Plus, we have a few easy tips for using your GBP to attract more customers and increase your conversion rates.
Who Needs a Google Business Profile?
If you’re a local business, a GBP listing is essential. For businesses that are local, GBP is the most critical item you can set up for your business — and you don’t even need a website first (although it helps). If you don’t have a website yet, Google can provide a basic one for you, free of charge! So there’s no excuse not to get started TODAY.
If you’re not a local business, a GBP listing (and setting a national or international service area) can help your business rank for additional long-tail keyword searches. And with Google’s recent changes to business profiles, creating a GBP is easier than ever, no matter your technical skill level.
Easy Setup for Google Business Profile
Step 1: Sign Into Google Business Profile
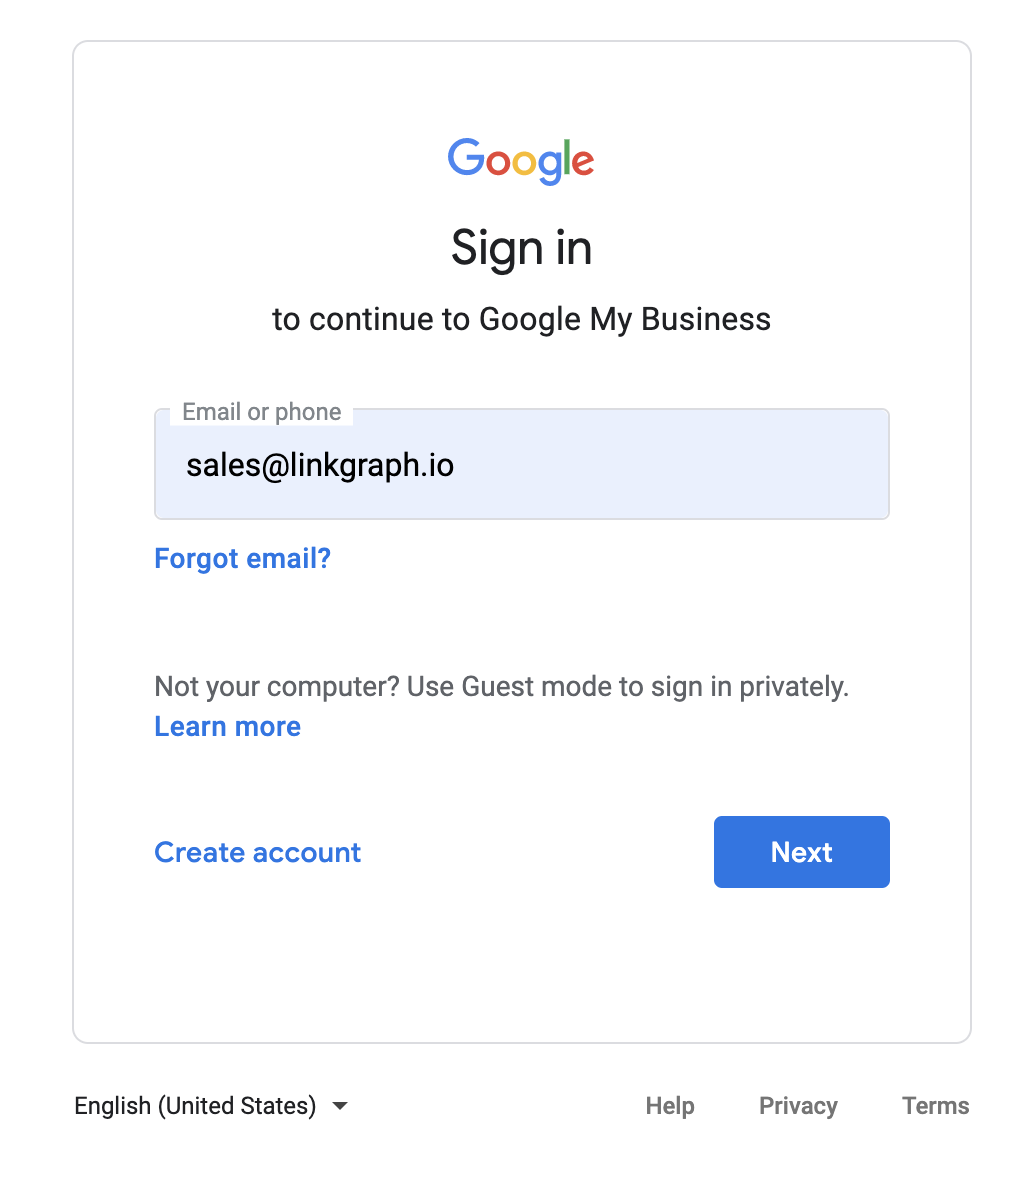
Go to https://business.google.com/ and sign in using your Google account information.
1a. If You Don’t Have a Google Account
If you don’t have a Google or Gmail account, you can still sign up. But you will need to make an account first. Luckily, Google makes this very simple.
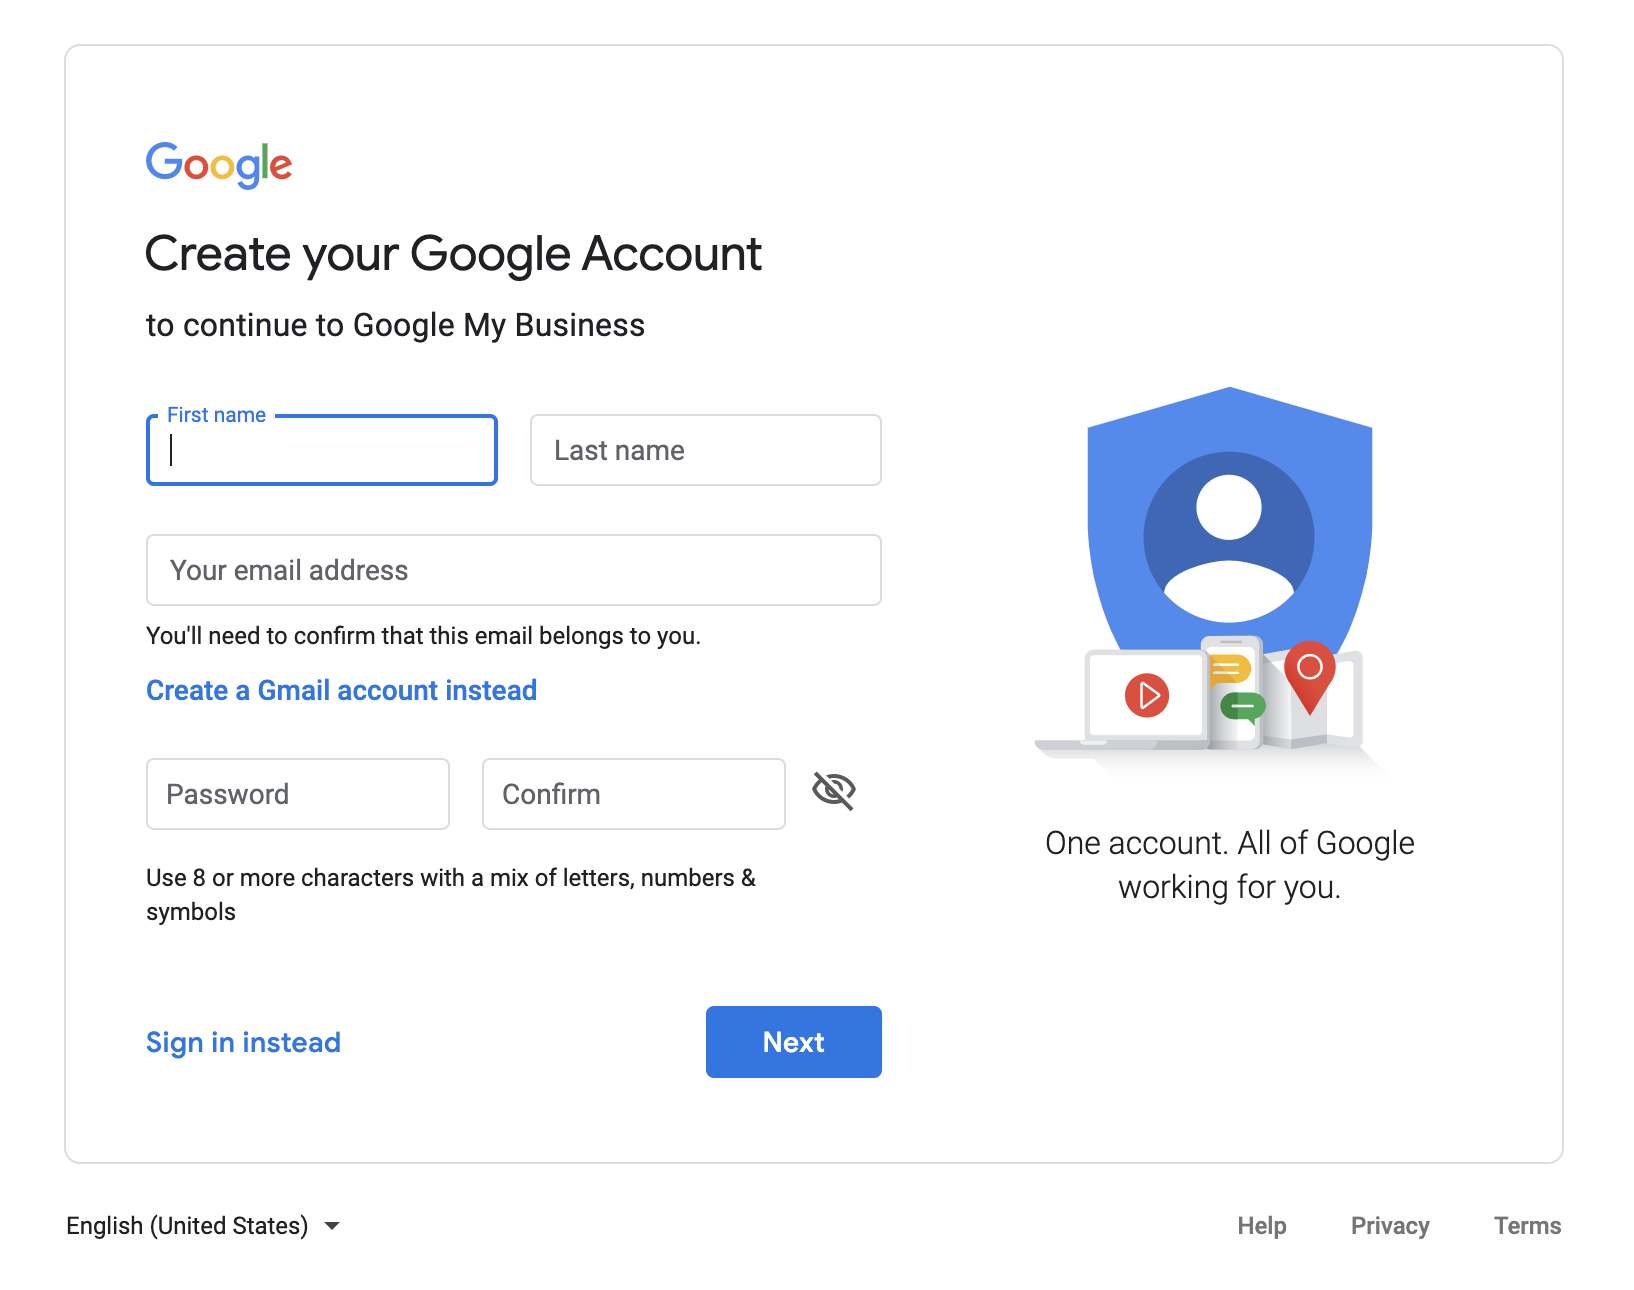 Simply, go to https://accounts.google.com/signup and enter the information prompted by Google. After your account is created, return to the Google Business Profile account creation page.
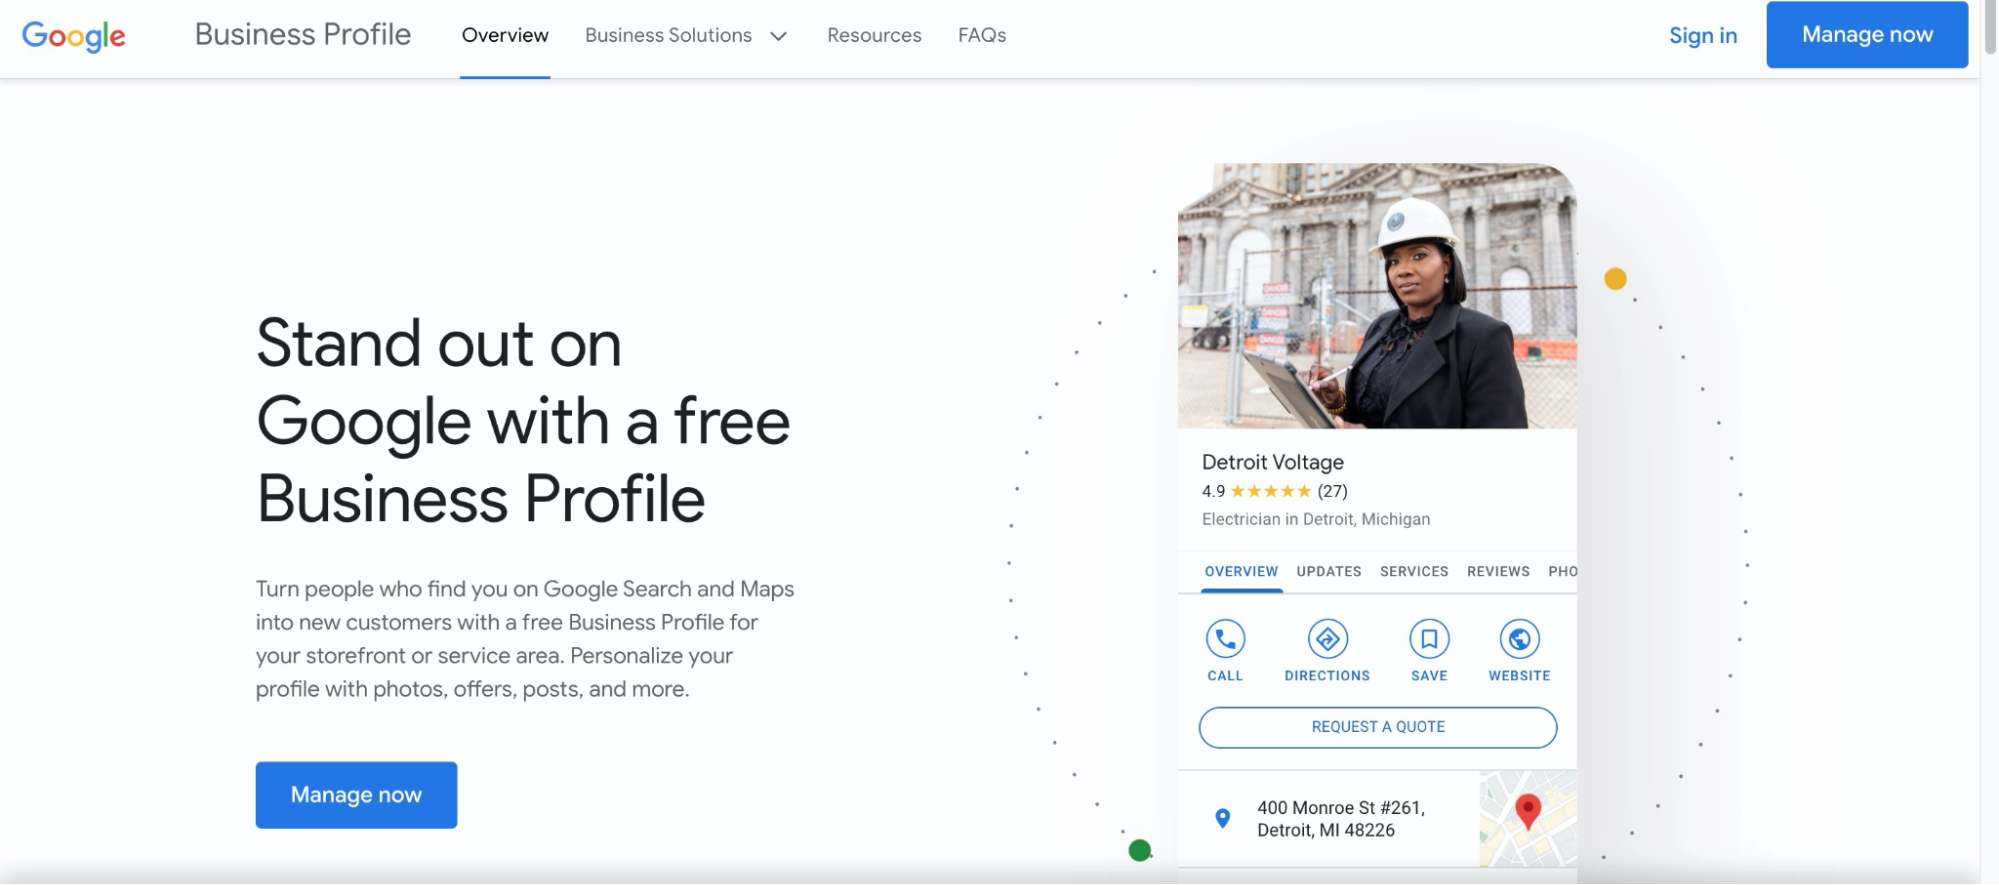
After you enter your Google account information, press the blue “manage now” button on the Google My Business landing page.
Step 2: Search for Your Business Listing
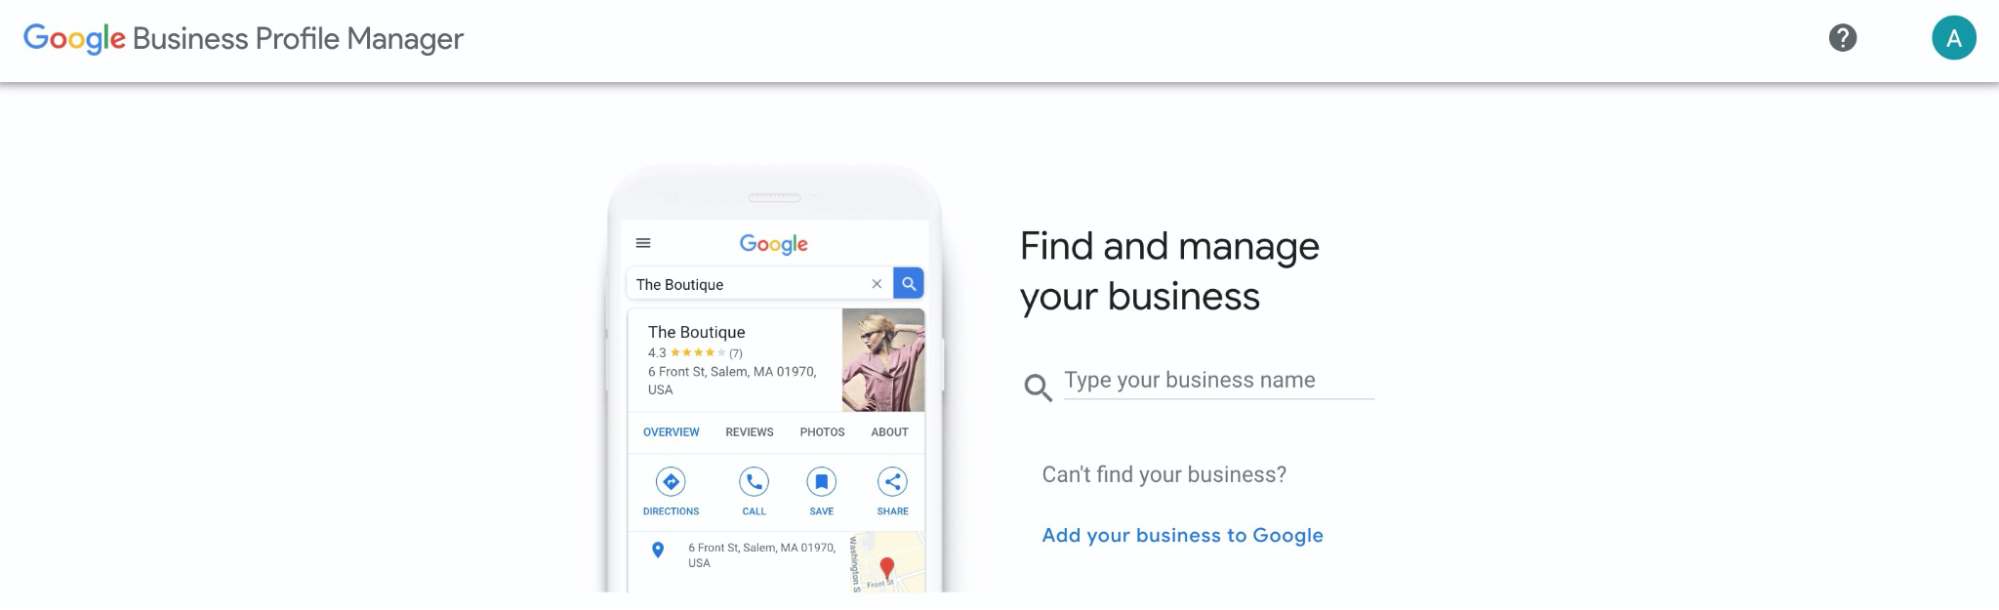
After you’ve clicked “Manage now,” Google’s system will begin guiding you through creating your business listing.
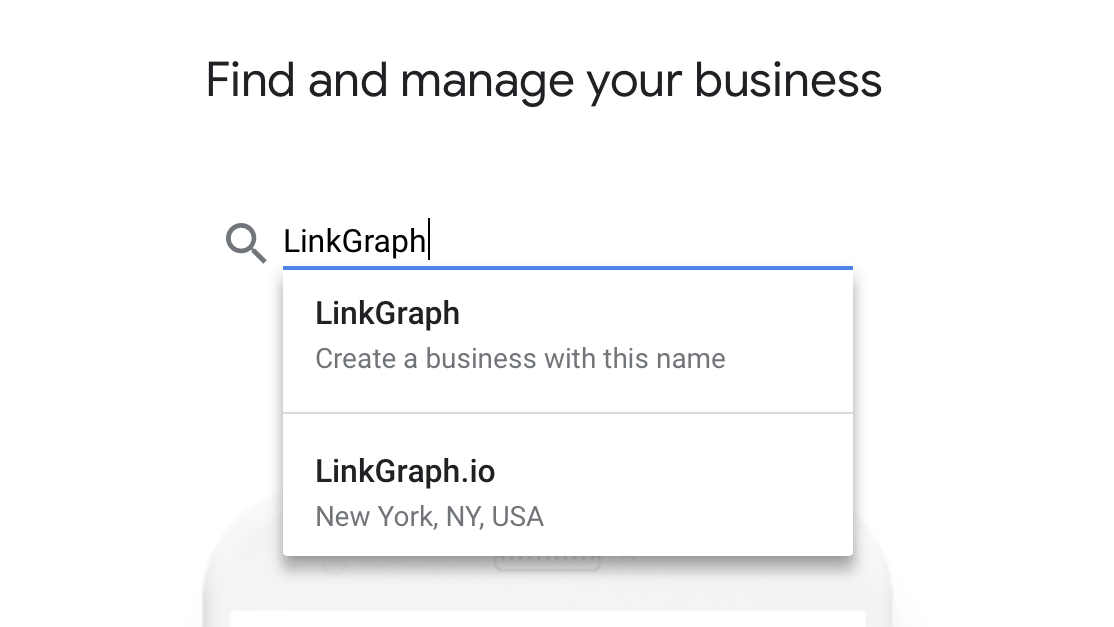
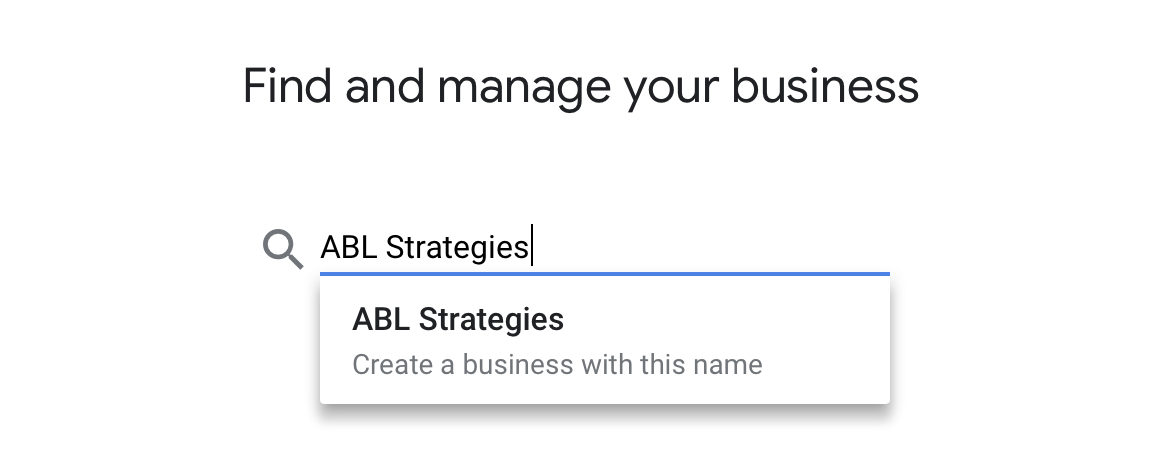
The first step is to find your business. Using the search query box, type in your business’s name. If your business appears, select it to claim the business as yours and to notify Google that it should be connected to your Google account.
If you find your business – claim it!
2a. What If My Business Doesn’t Appear in the Search Results?
Before creating your business listing, be sure you try a variety of spelling options of your business name, so you don’t wind up with a duplicate. Duplicate business listings can create complications in the future.
If you still cannot find your name, consider entering what customers call your business or if your business had a previous name.
If your business is not listed yet at all – create it!
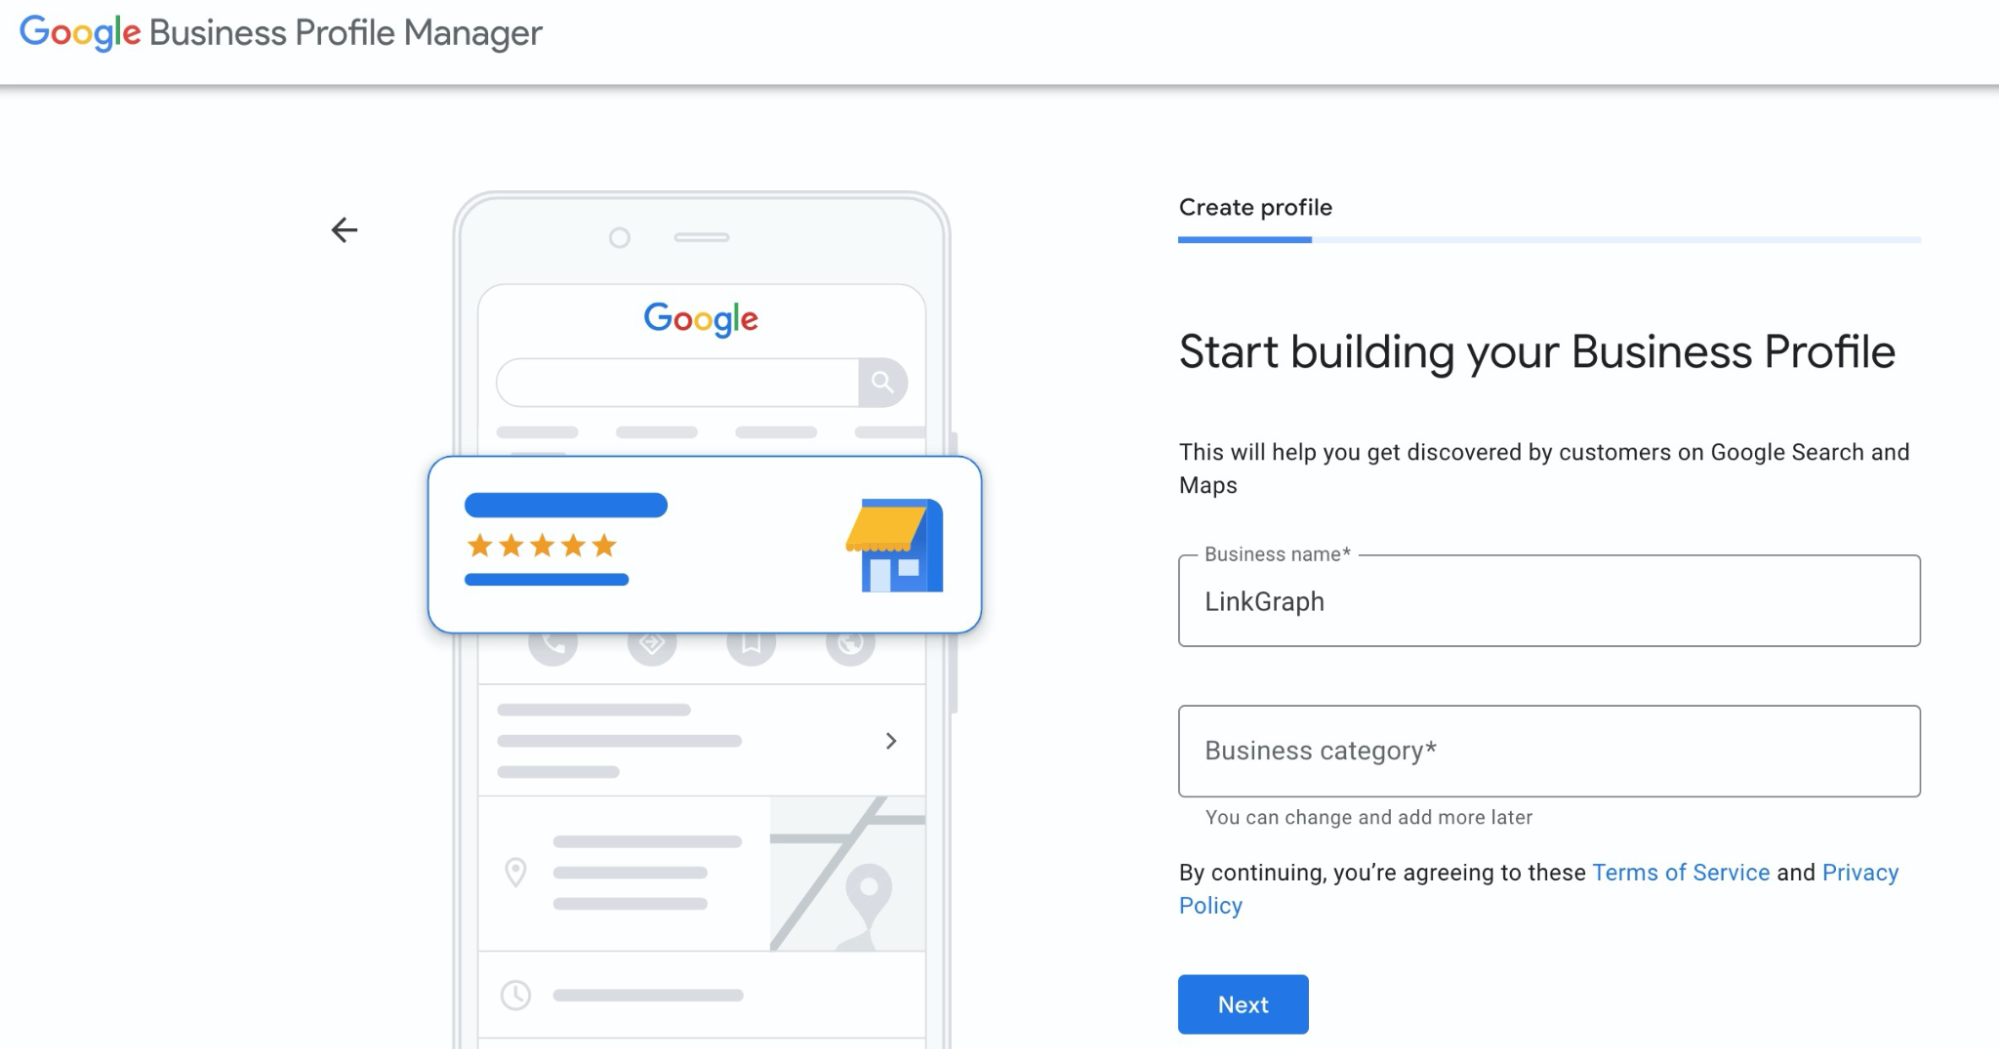
- Enter your business name. Check the spelling, spacing, and capitalization. This is what will appear on the top of your Google business listing.
- Enter a business category that applies to your company. As you begin typing, the search query will automatically populate with suggestions. You can change this later, or add additional categories. — so don’t stress too much about this choice.
Each category has a GCLID (a specific technical ID) that may be able to help you pick between categories that may seem similar.
Take these two categories for example Commercial Photographer vs. Photography Service. You might feel unsure which category to select as a professional photographer.
The GCLIDS in this instance may help clarify your choice – Commercial Photographer has the GCLID advertising_photographer and Photography Service has the GCLID photography_service.
Most GCLIDs will be roughly the same as the category name.
If you cannot find a category that fits your business, you can click the blue Next button to continue after reviewing the Terms of Service and Privacy Policy.
Step 3: Add Your Business Location
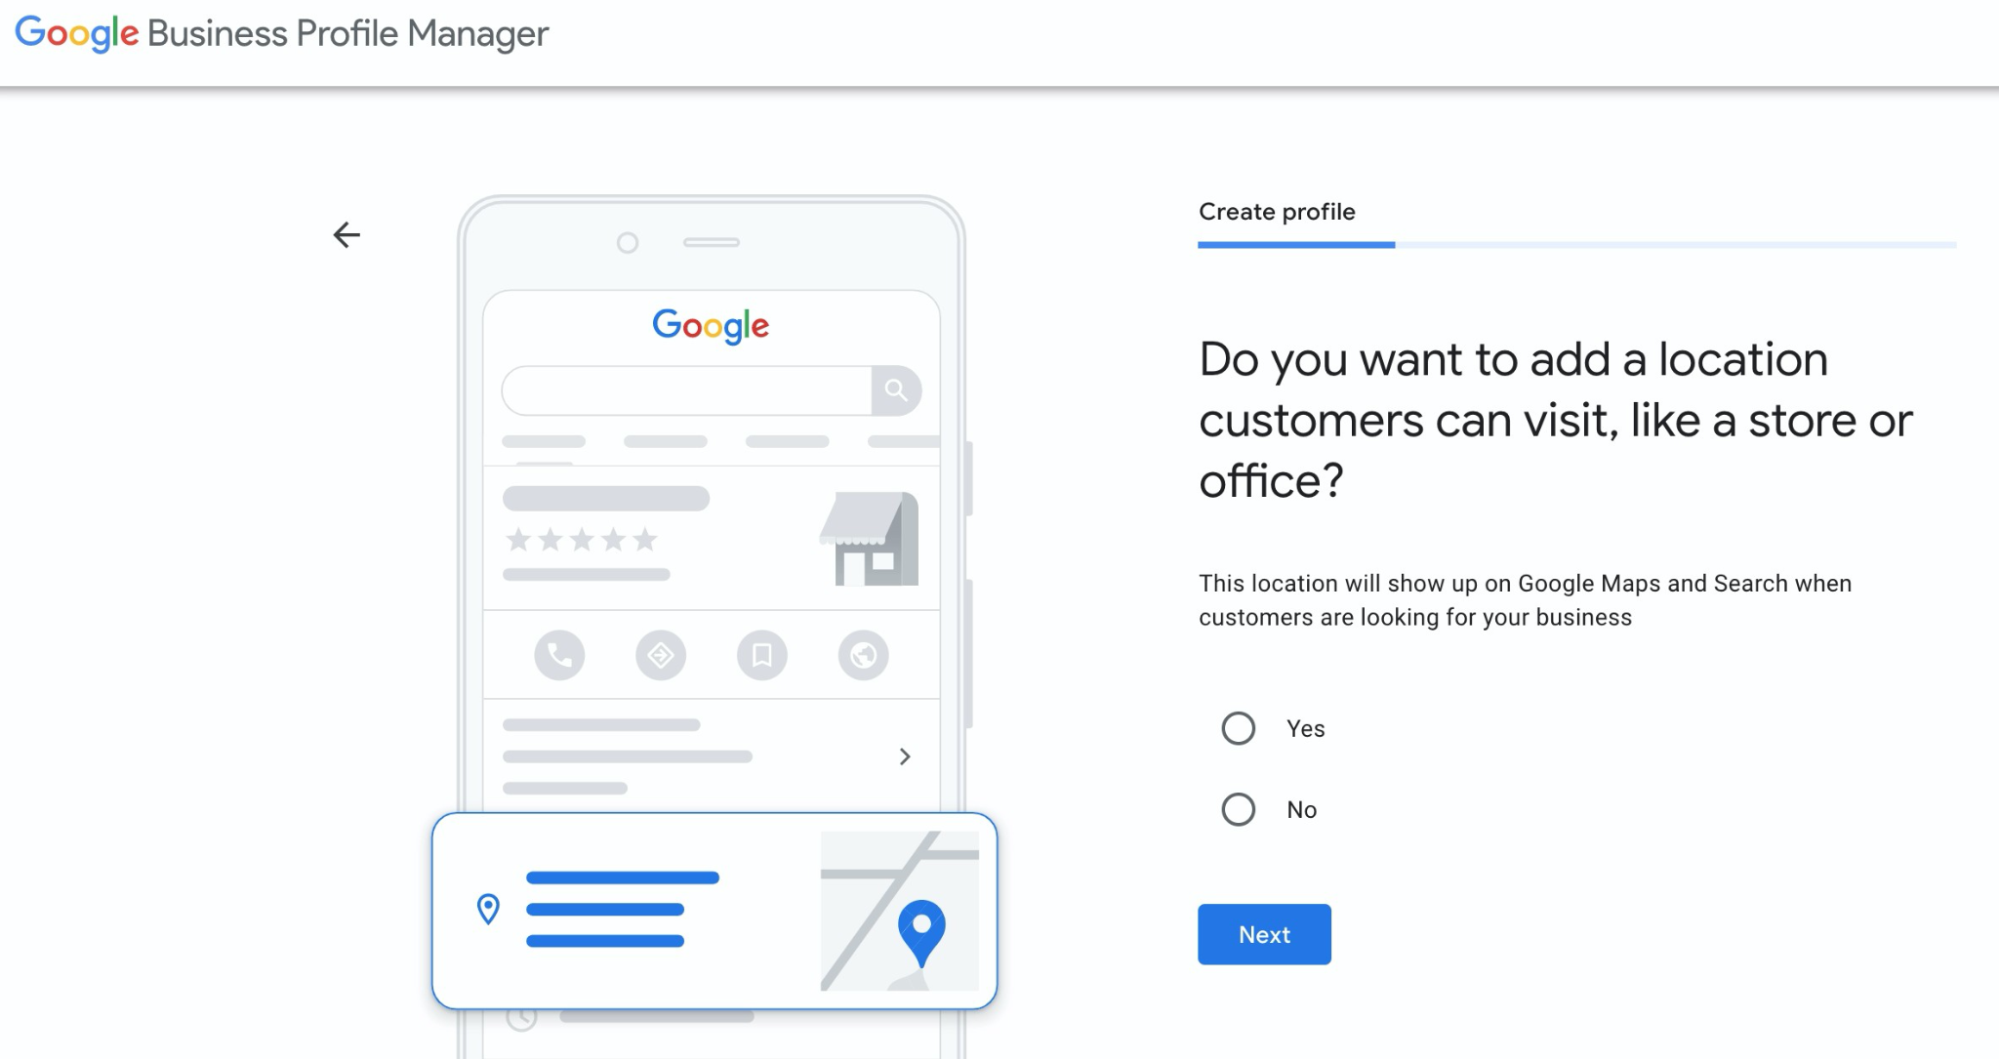
Google will want to know your business’s physical location or if your business does not have a storefront or physical location that customers can visit or find on Maps.
Option 1: Select Yes and Add Your Physical Address

- Next, you will be prompted to enter your business’s location via your address. this should be your primary location, you can add more locations later. This is what will appear on Google search results and the Google Maps app. This data allows customers to find your business when they enter search terms into Google.
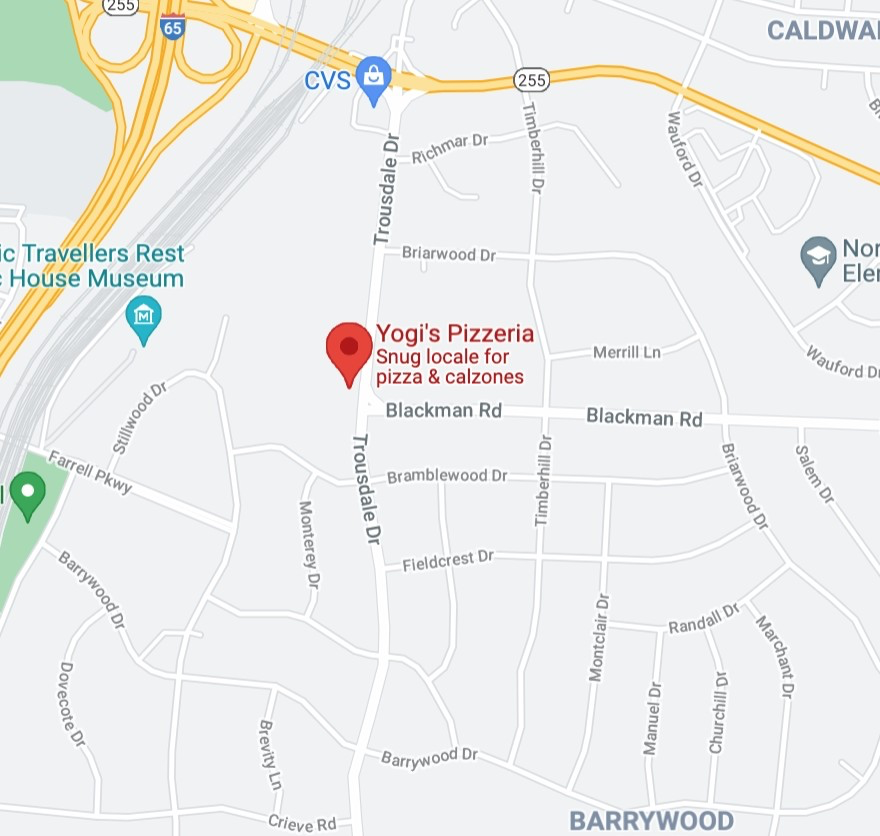
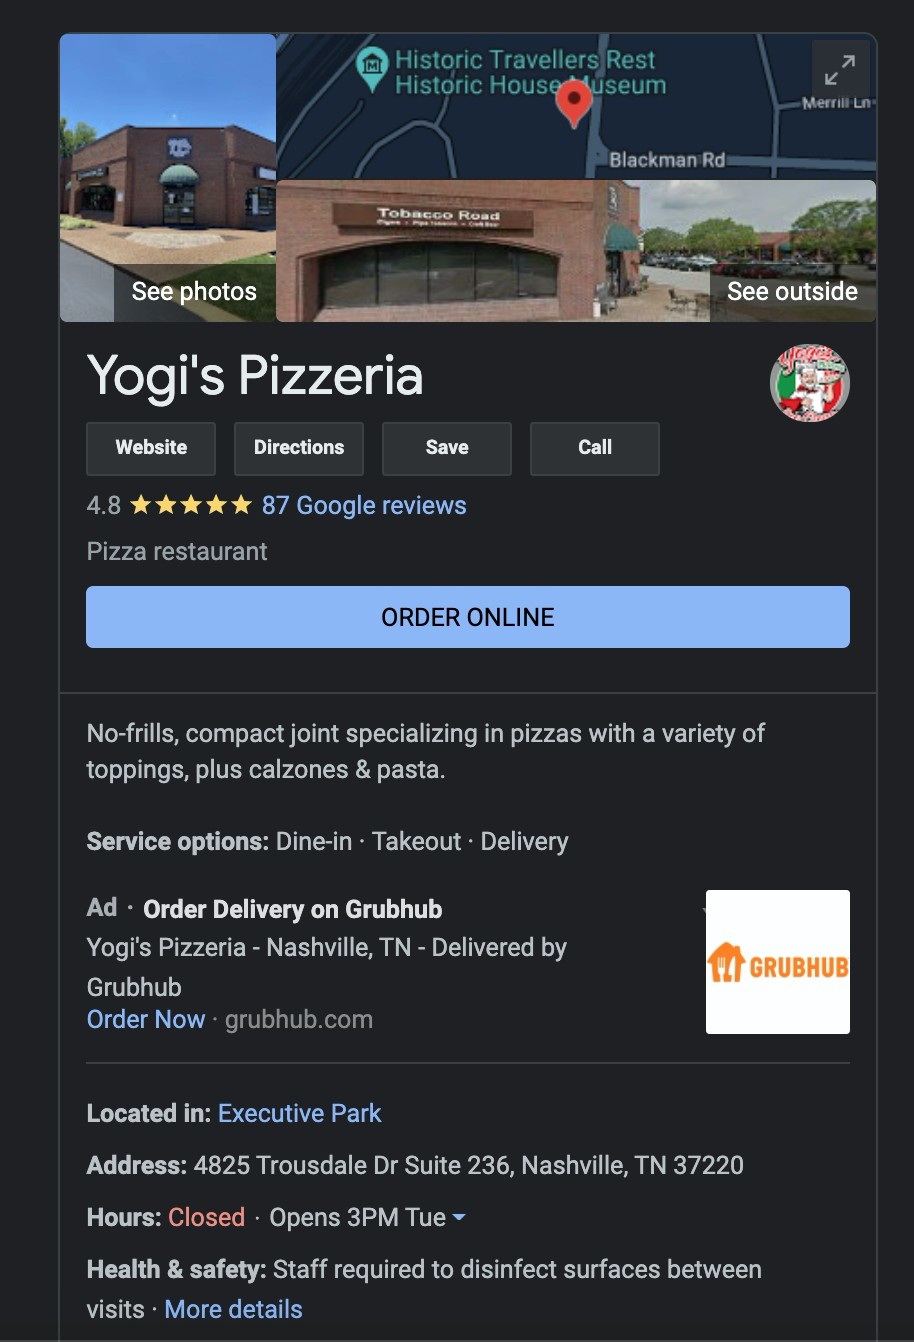
In addition to helping potential customers nearby discover your business, this information will also show them where you are on a map. It also transfers your address over to Google Maps when customers select “Directions” to navigate to your business.
Option 2: Select No and Add Your Service Areas
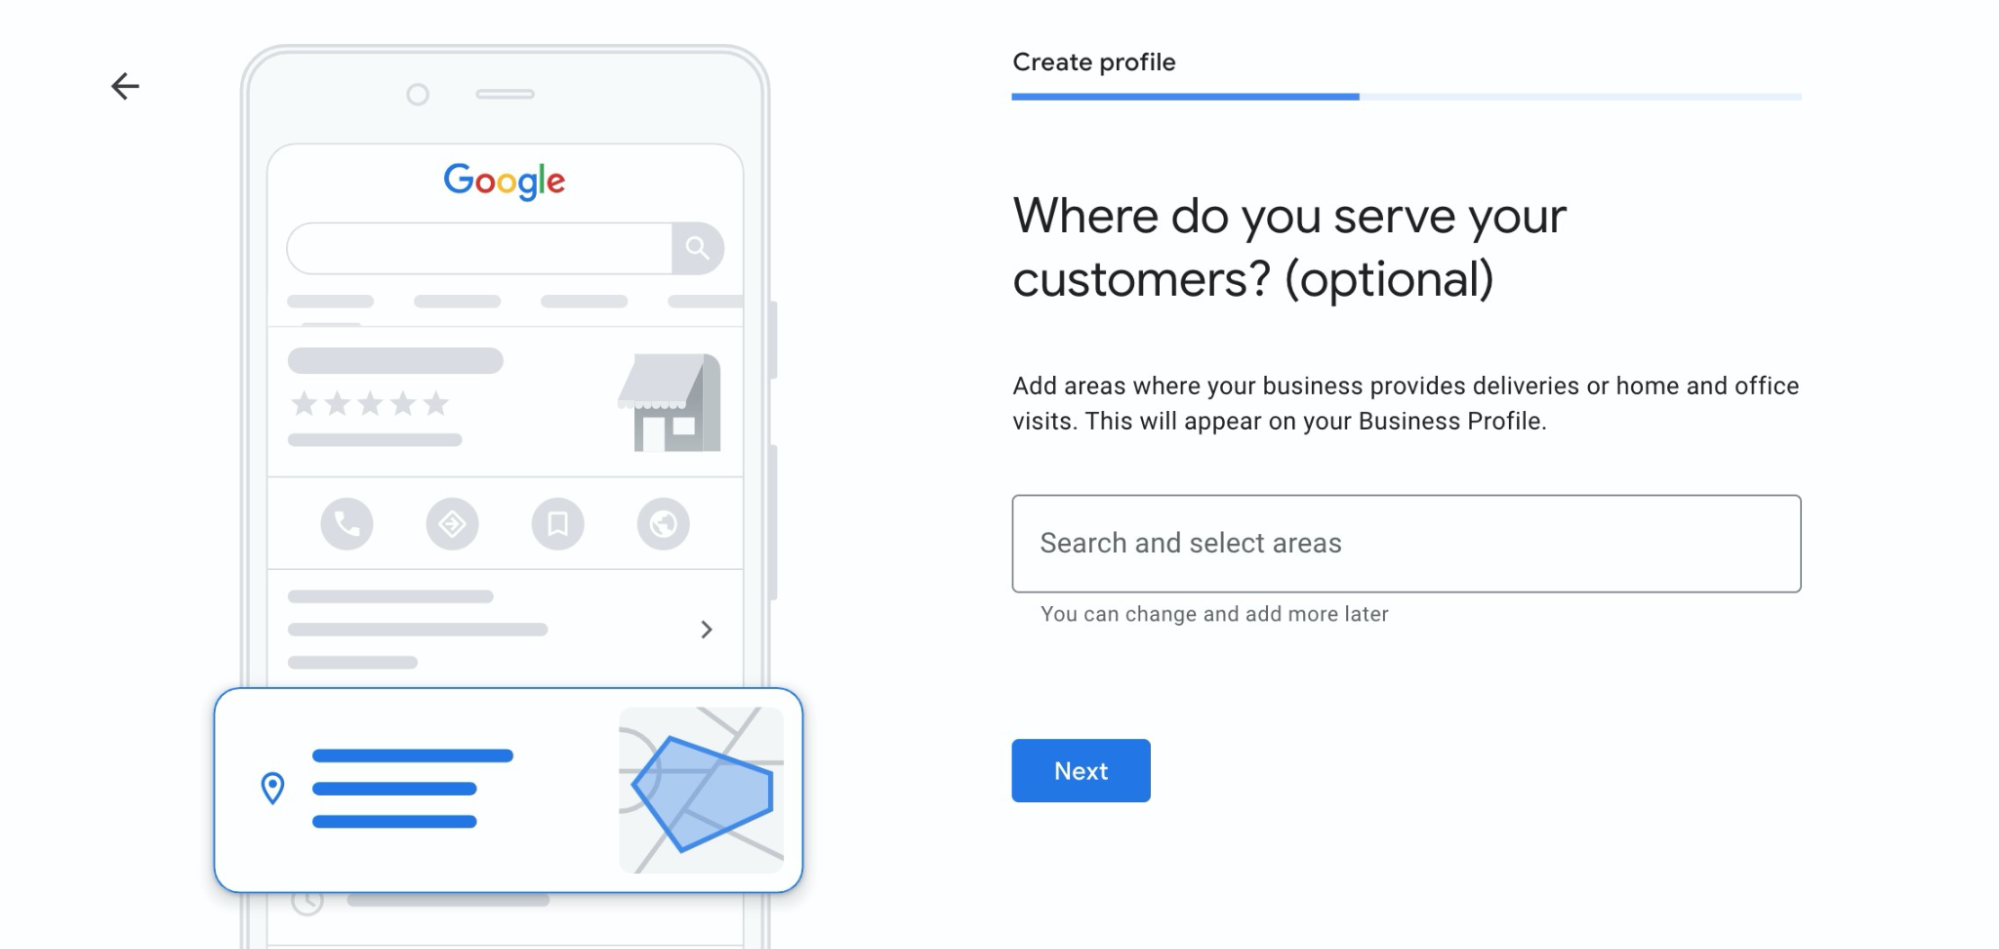
If you select No, then Google will prompt you to add your service areas – these are the areas where you provide services in person, via mail, or digitally. This option works best for many services industries, such as HVAC, electrical repair and installation, and even mobile veterinarians.
You can answer with specific cities or neighborhoods like this:
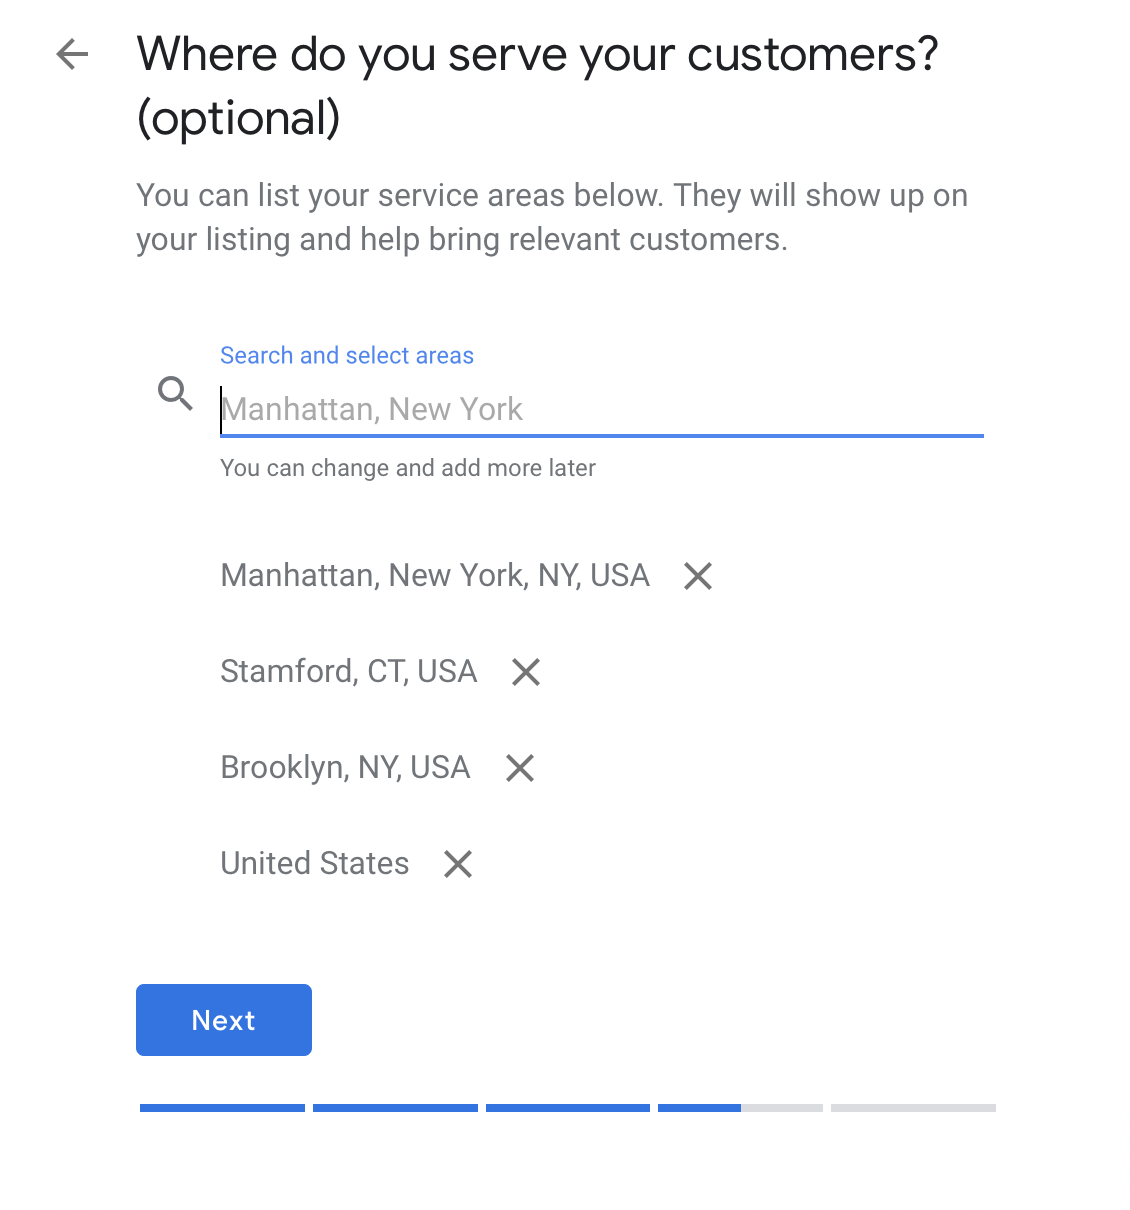
Or you can target broader regions by adding states or even countries:

Step 4: Add Where Your Business is Based

Adding where your business is based allows customers to get a snapshot into the location of your operation.
Step 5: Add Contact Information for Your Business
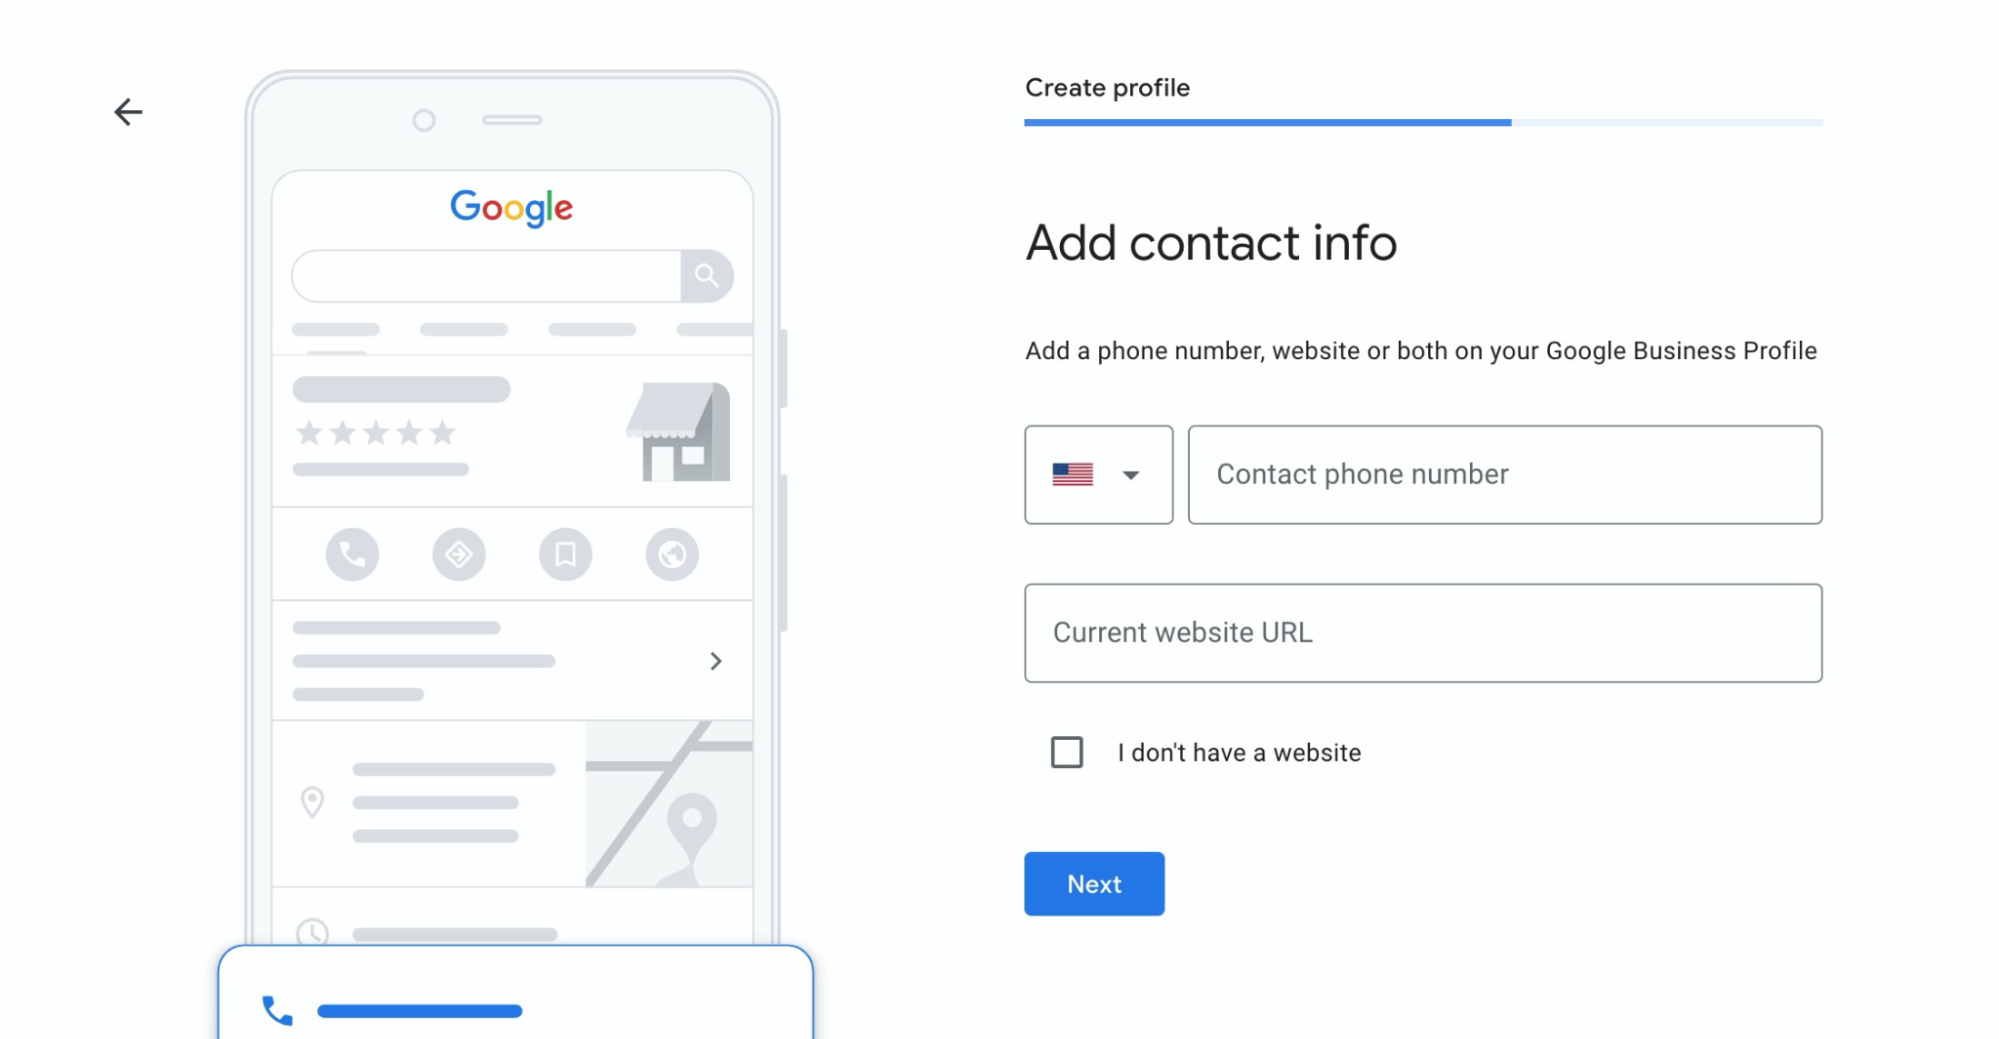
Next, you will add your contact information, including your phone number, for your business, if you don’t have a website Google can even give you a free one at this stage to help you get set up. Or you can skip entering a URL and go back to edit it after your profile is established.
Step 6: Active Google Alerts for Google Recommendations
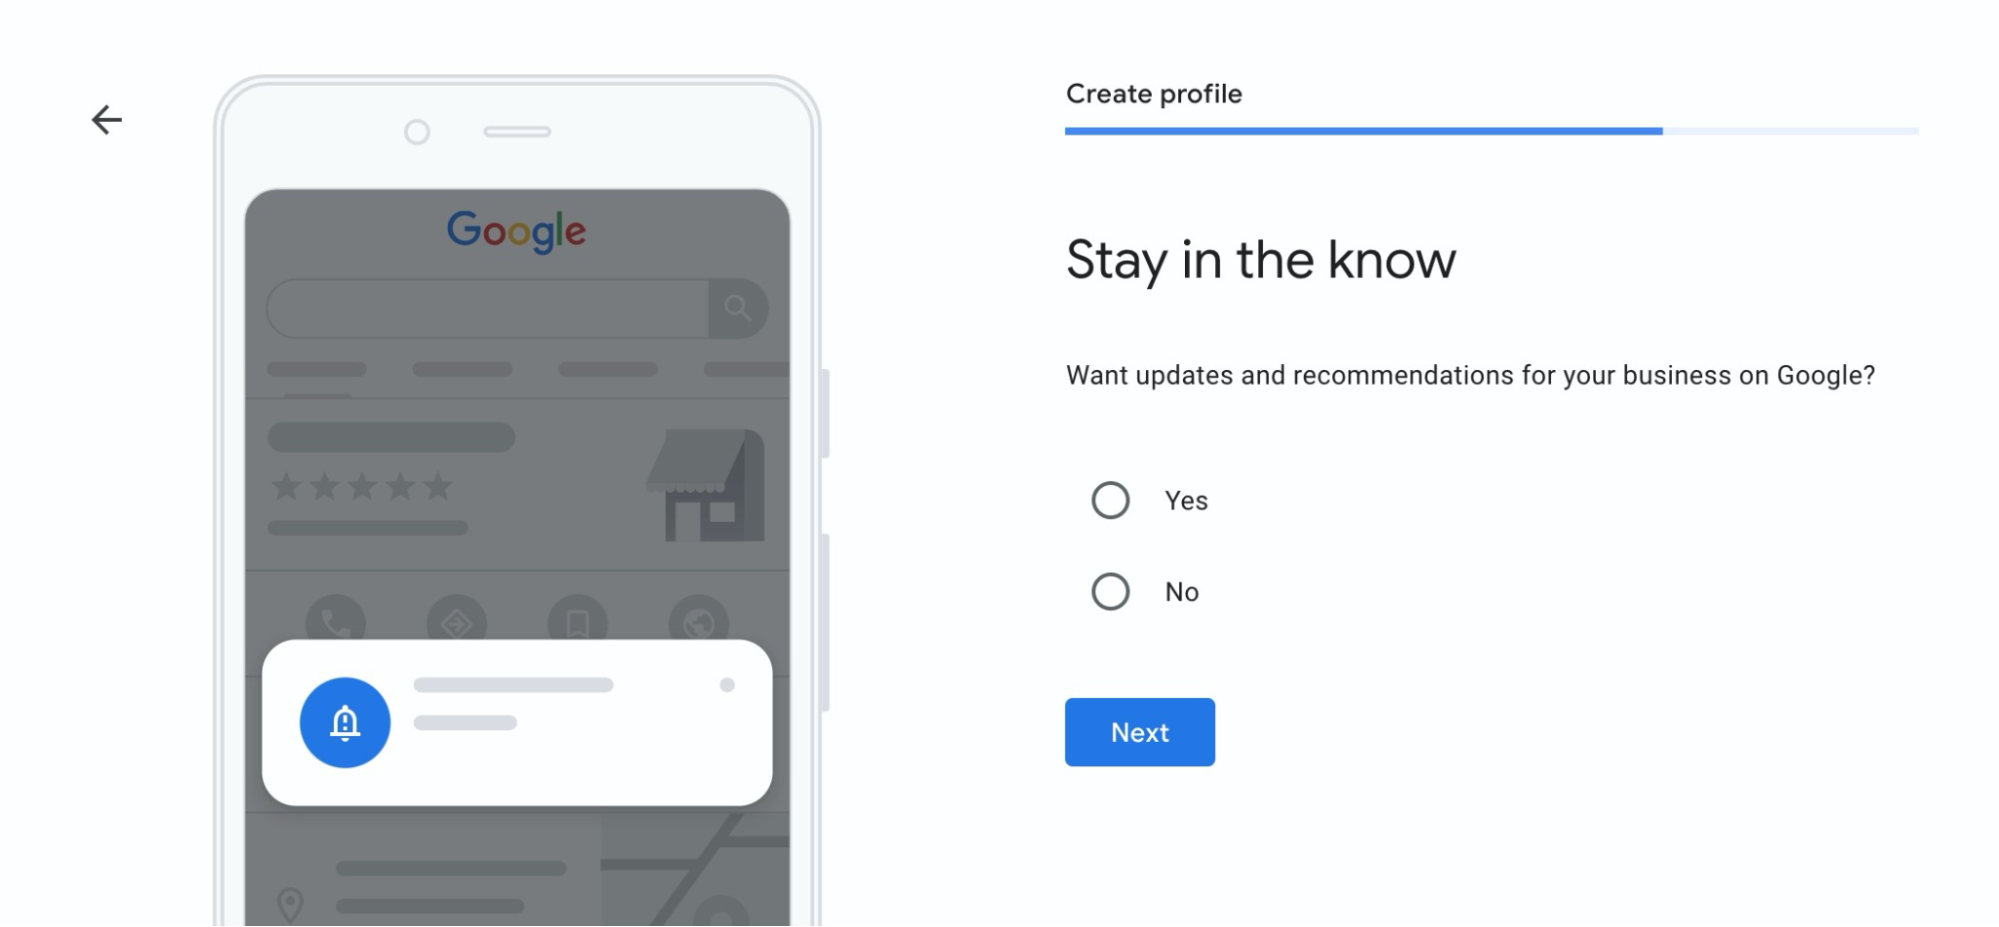
Here you can tell Google if you want to receive recommendations regarding your business profile. If you select Yes, they will send you alerts when elements on your profile can be updated or improved.
Step 7: Verify Your Mailing Address
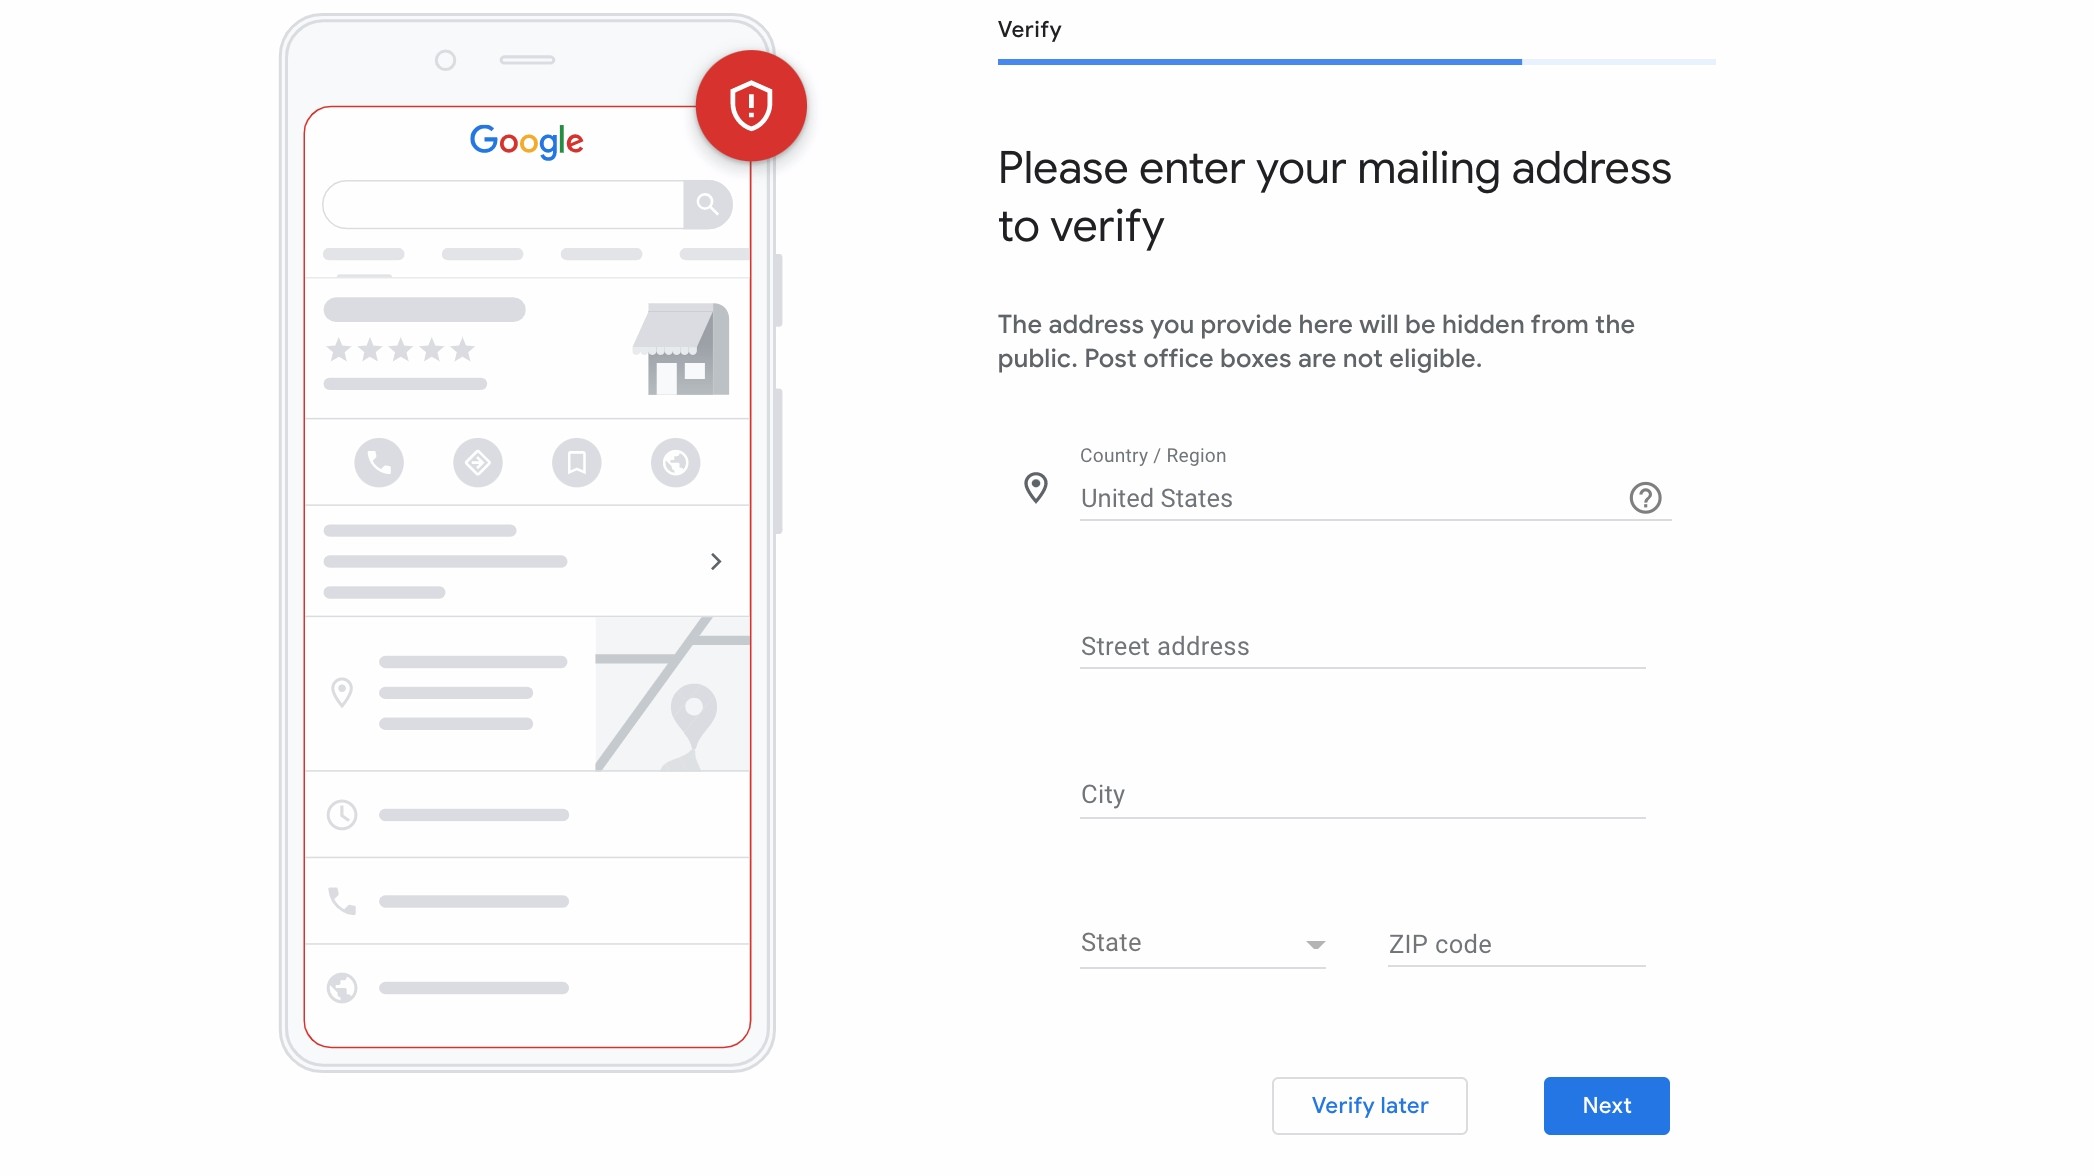
Here, you will enter where you want to receive your Google business verification instructions by mail. Google hides this address from the public or maps, so don’t worry about people unknowingly showing up at your home or private office.
After you enter your address, Google will use the information you’ve entered to verify that your business profile is ready to be listed, or they will mail you a physical postcard with a code and instructions to verify your mailing address and other business information.
Step 8: Add Business Hours
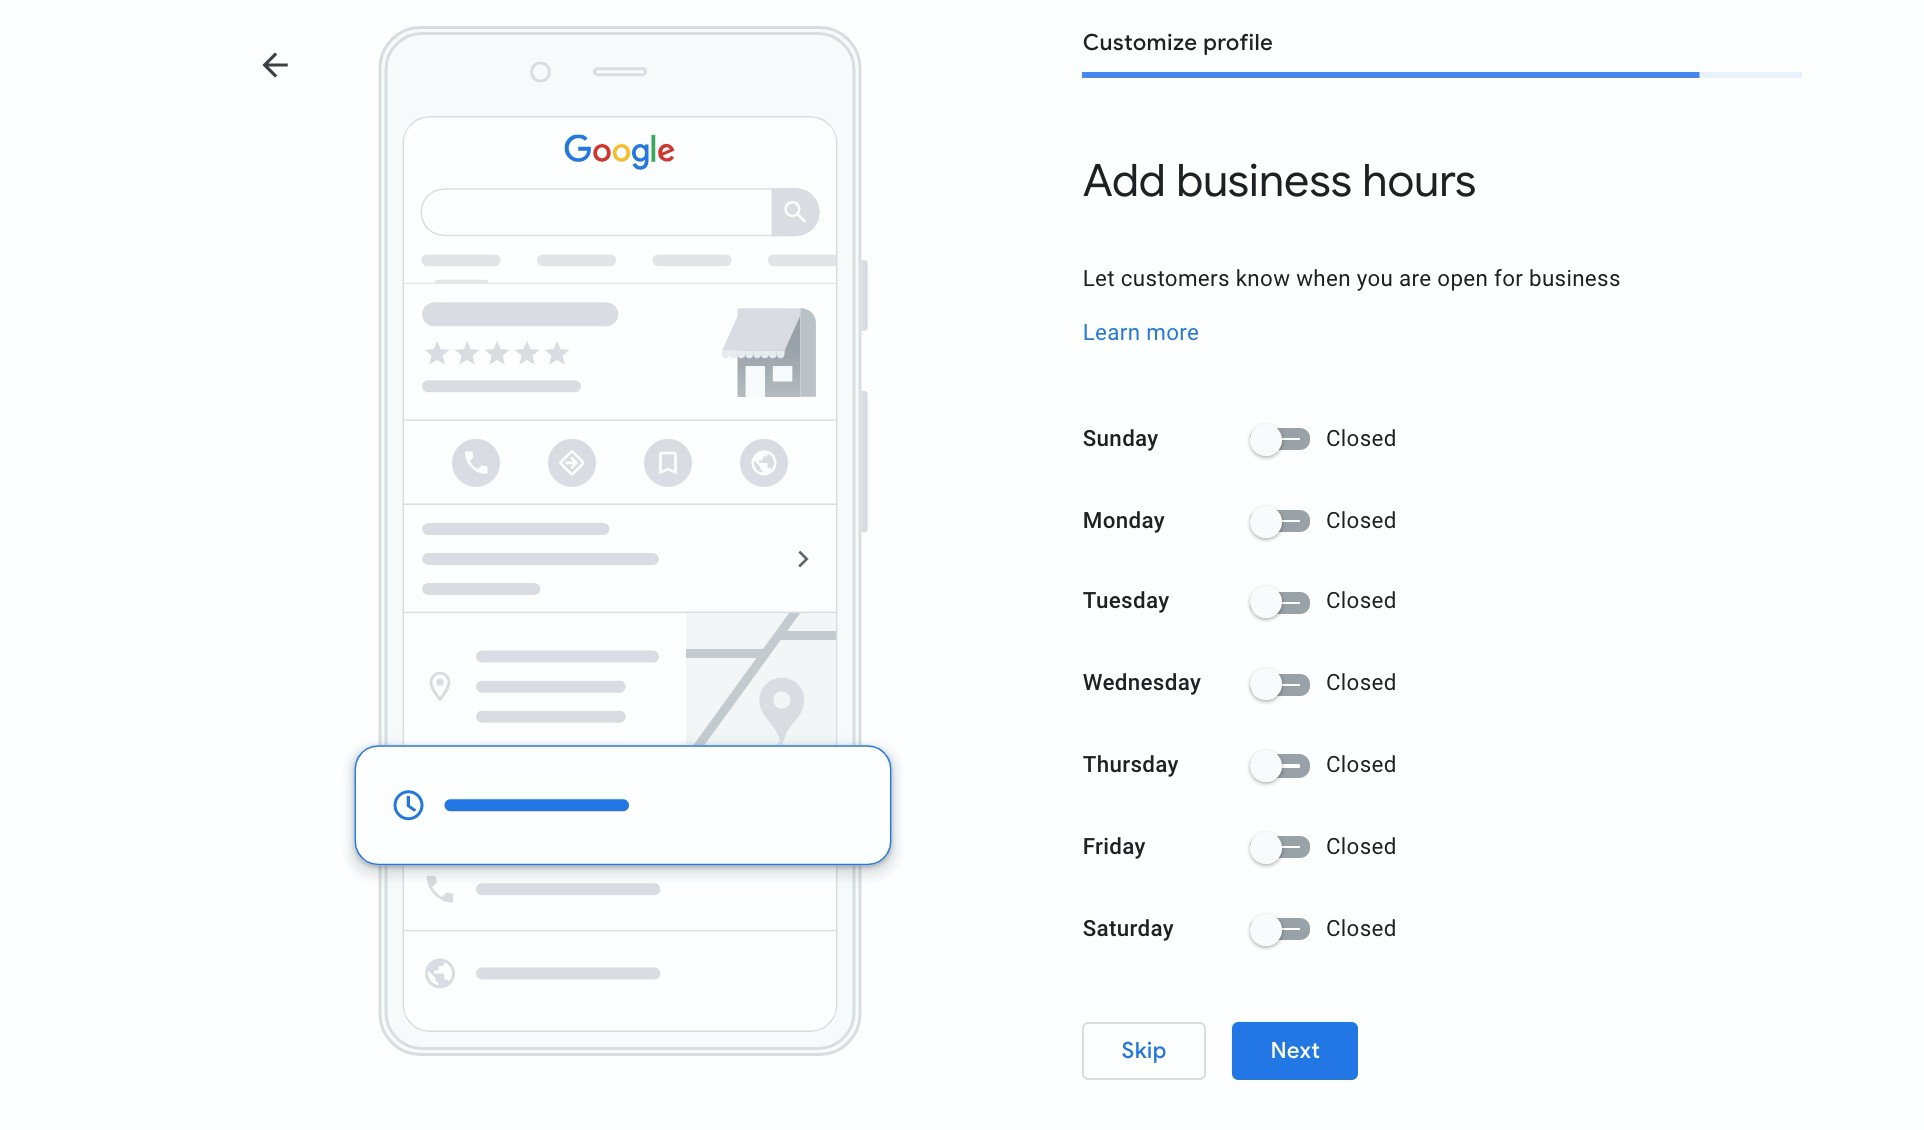
Next, you will be prompted to add business hours. Adding accurate hours allows customers to know when to call or arrive at your business.
Based on the times you enter, Google Maps will also automatically let people head to your location if they are going to arrive near your closing time. This can be quite convenient for customers and for businesses.
You can always skip this step and add this information from your Google Business Profile account later on.
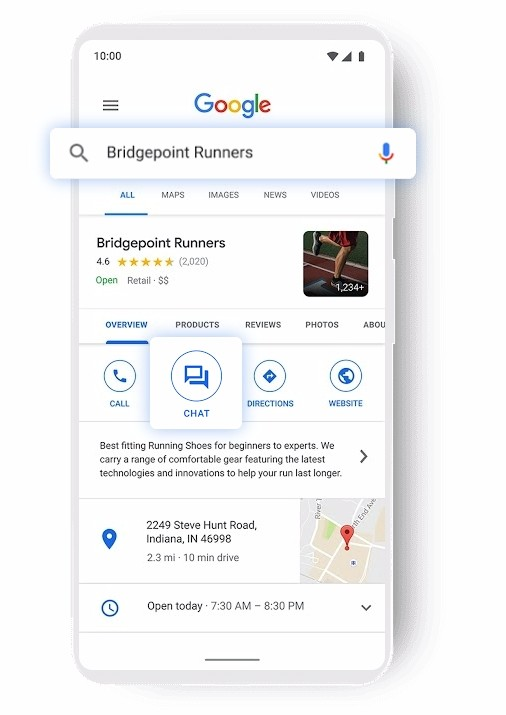
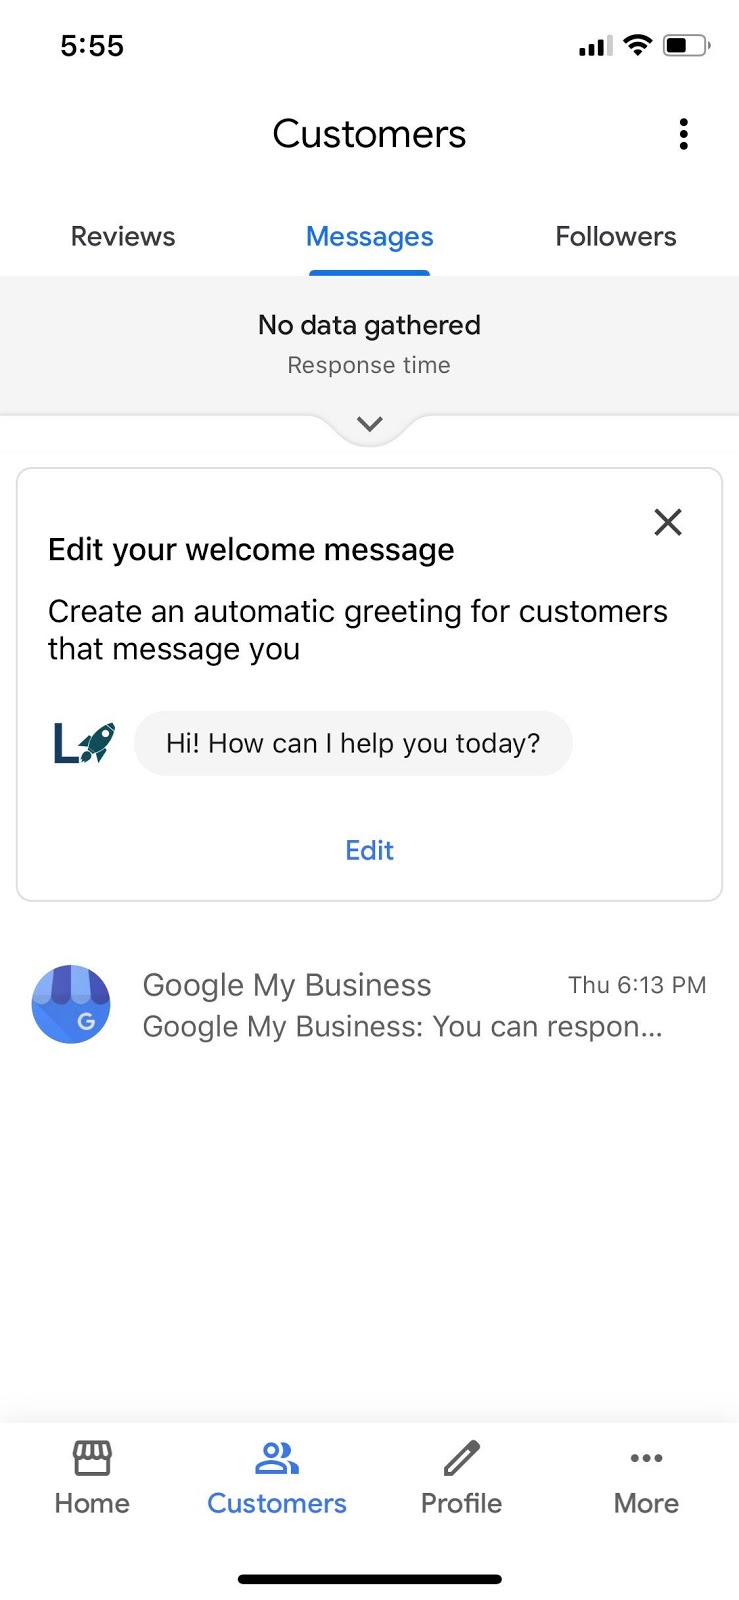
Step 9: Turn On Messaging
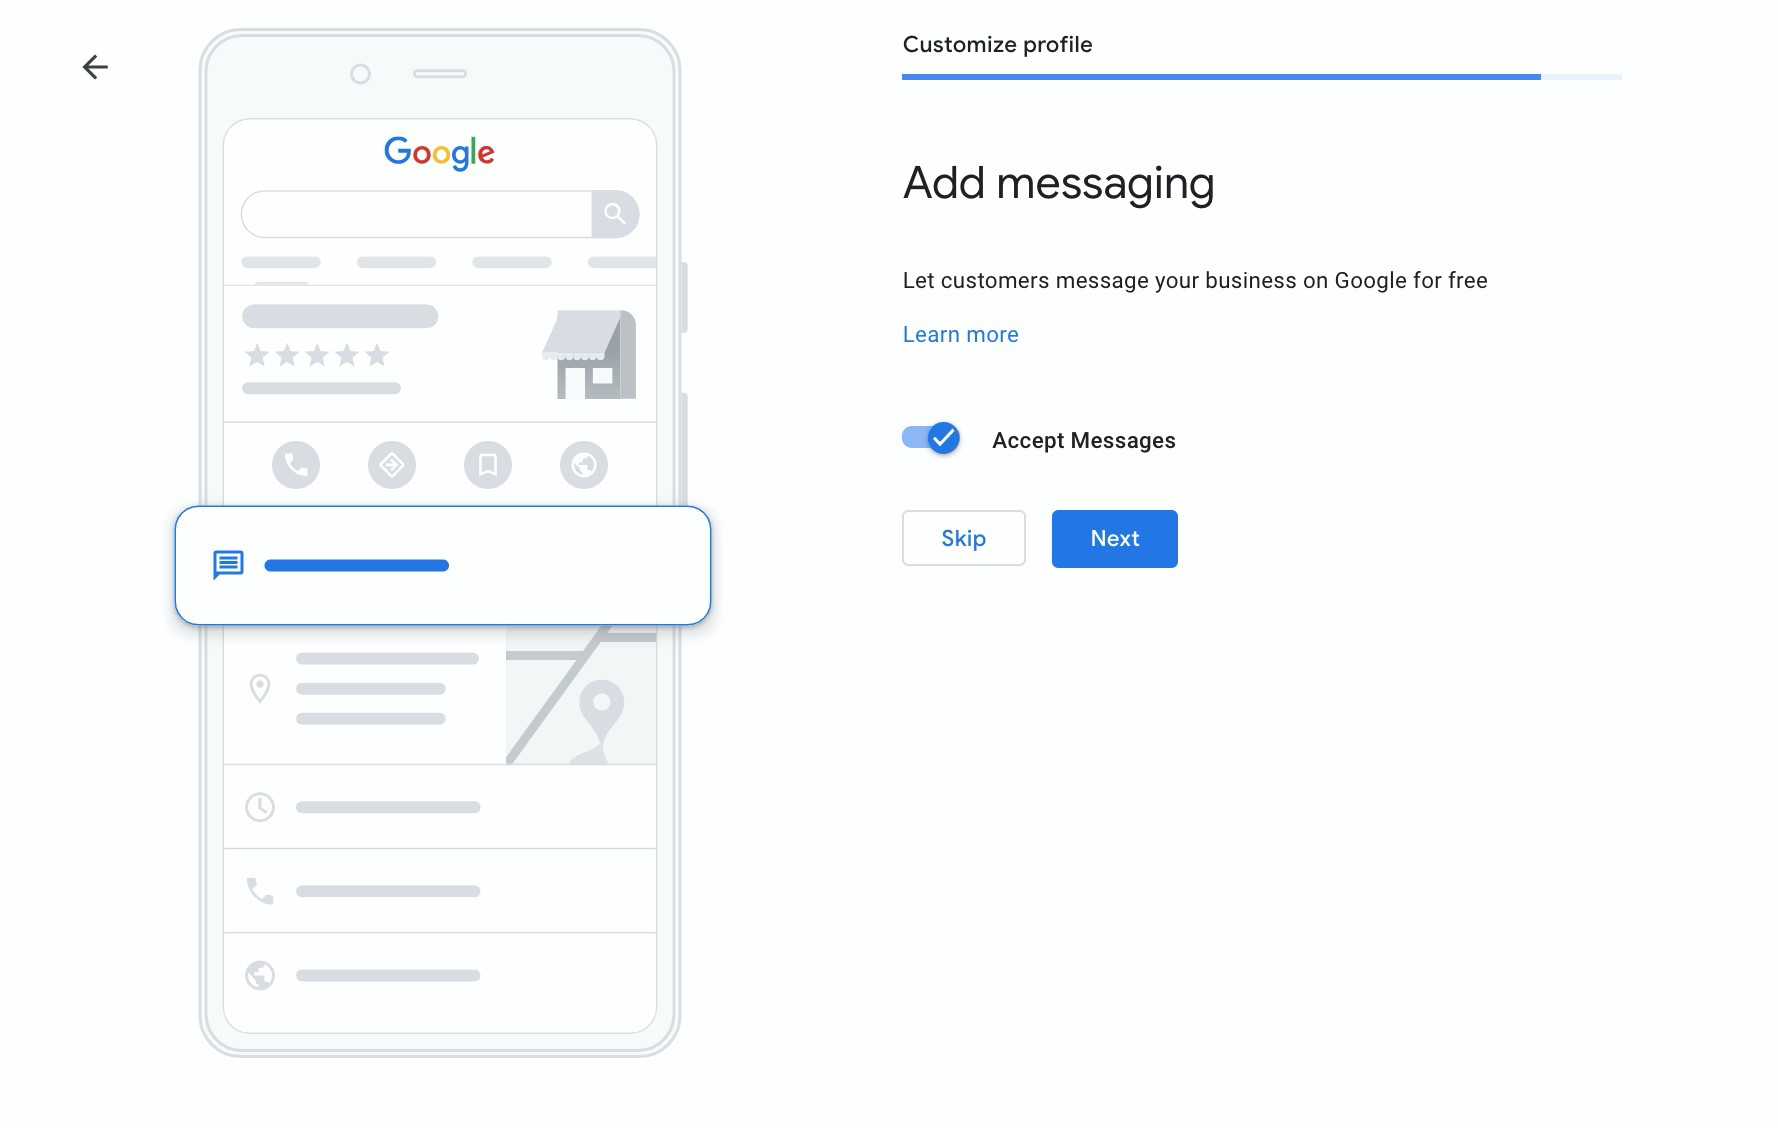
Want more customers to contact you? Turn on your Google Business messaging. This feature allows customers or potential customers to message you directly from your Google listing. This is a great way to answer questions about your business and encourage customers to interact with your business.
This is what the feature looks like on your customers’ end:
Step 10: Create a Description for Your Business
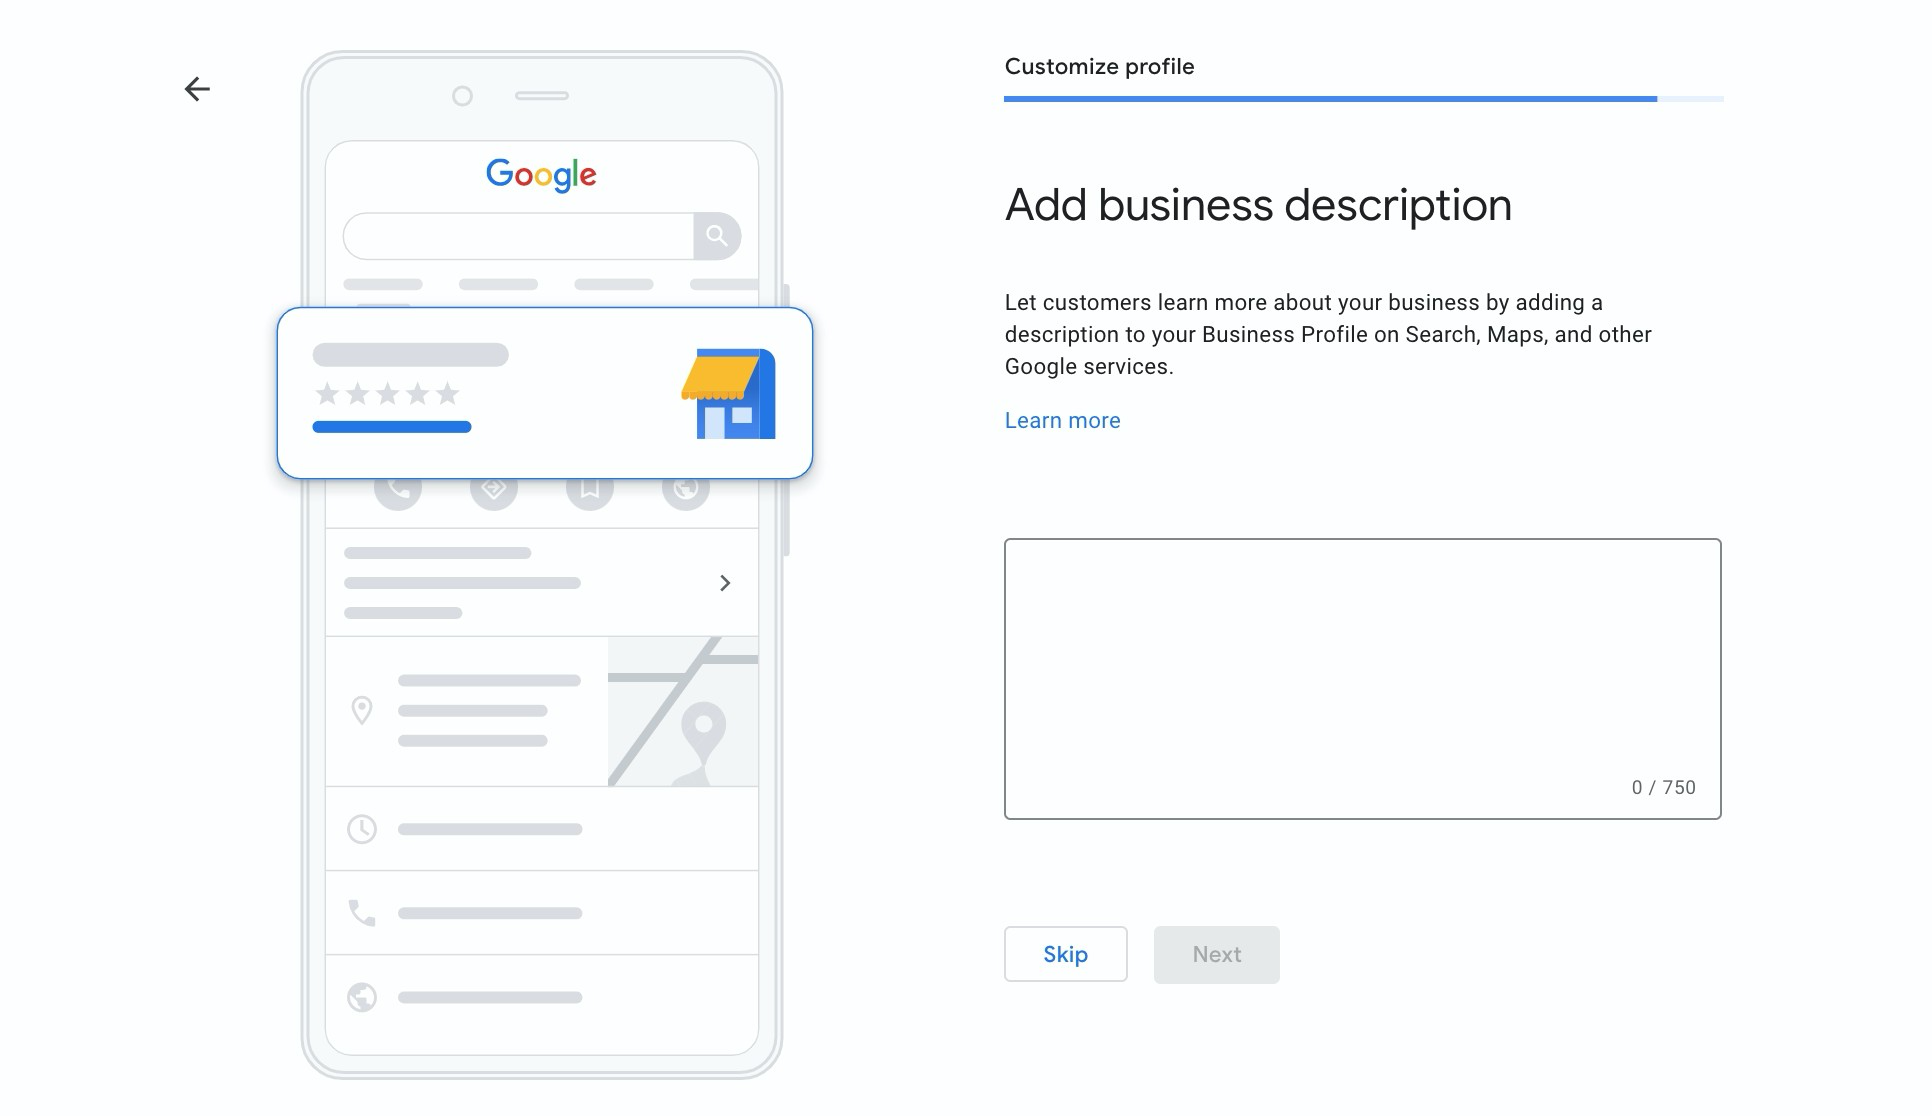
Set your business apart from the competition and add information about your business during this step. Adding a description can provide customers with more details that can inform whether or not your business is the best choice for their needs. Don’t forget to include keywords to get your business noticed.
Step 11: Add Photos to Your Business Profile
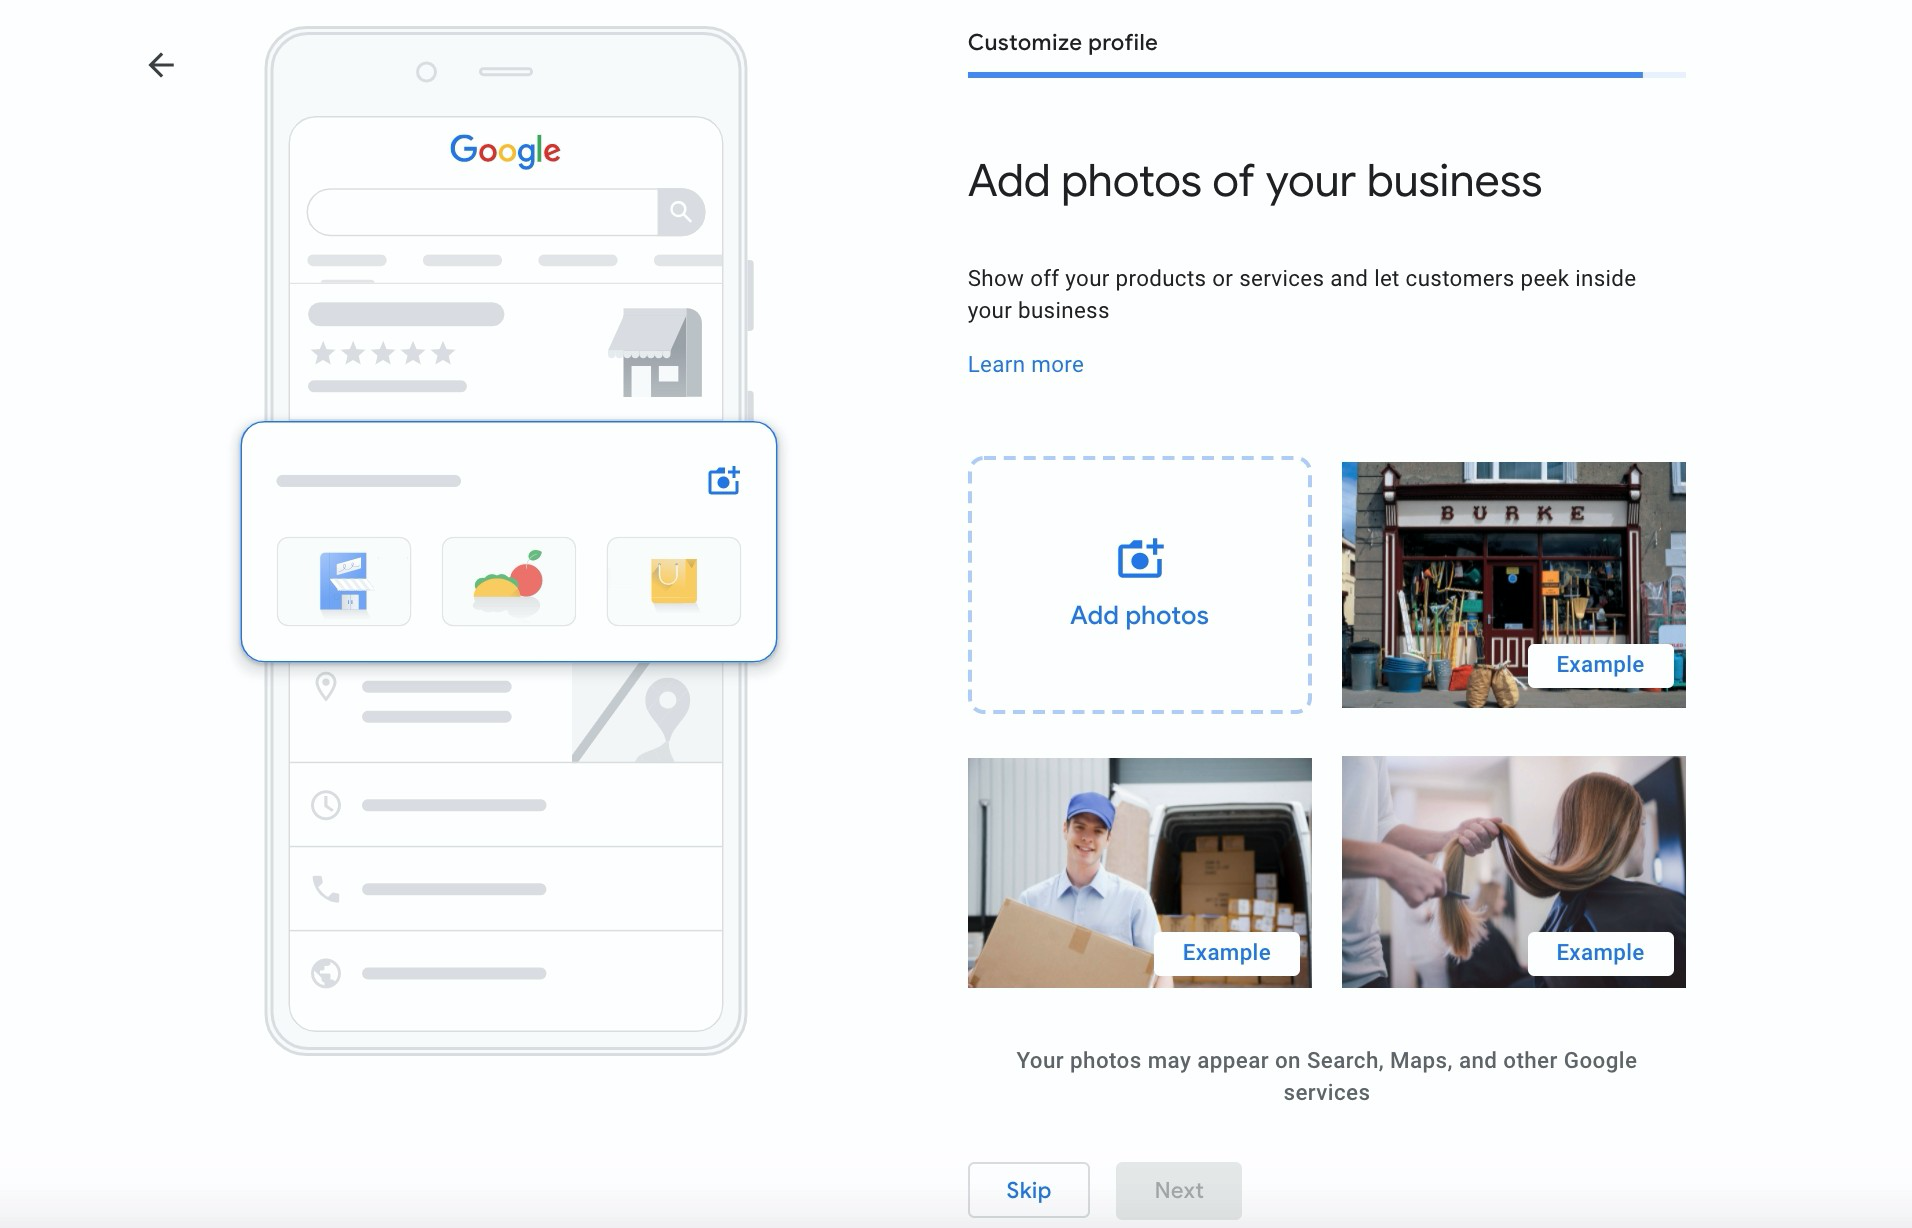
Get your business profile started on the right foot by adding photos of your business. Images give customers a better picture of your business and give you the opportunity to show off a bit. You can include photos of your storefront, a job well done, or even photos of the products you carry.
Step 12: Choose Whether or Not to Sign Up for Google Ads
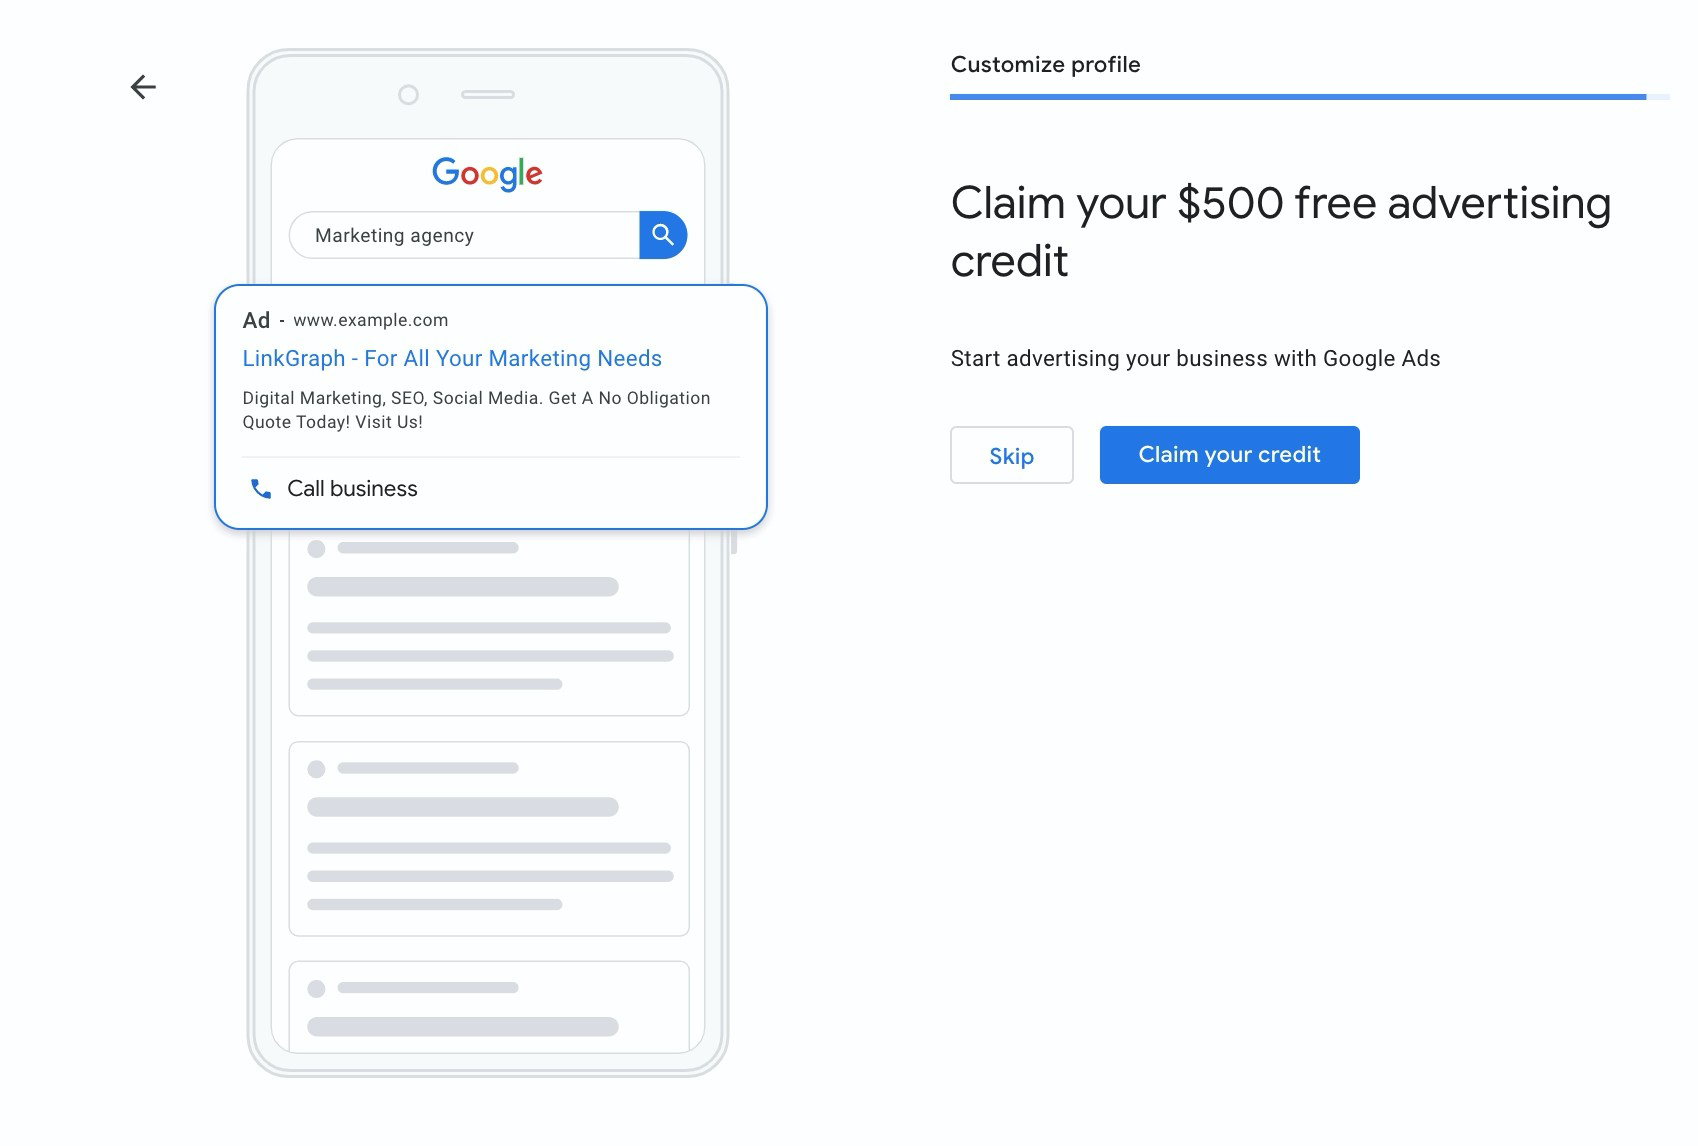
Google will ask you if you want to claim a $500 Google Ads credit.
Google Ads is a pay-per-click (PPC) advertising system that can boost traffic to your website and increase customer calls. Using a professional service to make the most of your advertising budget and money with a PPC service can help you better target your audience.
Take Control of Business Google Listing
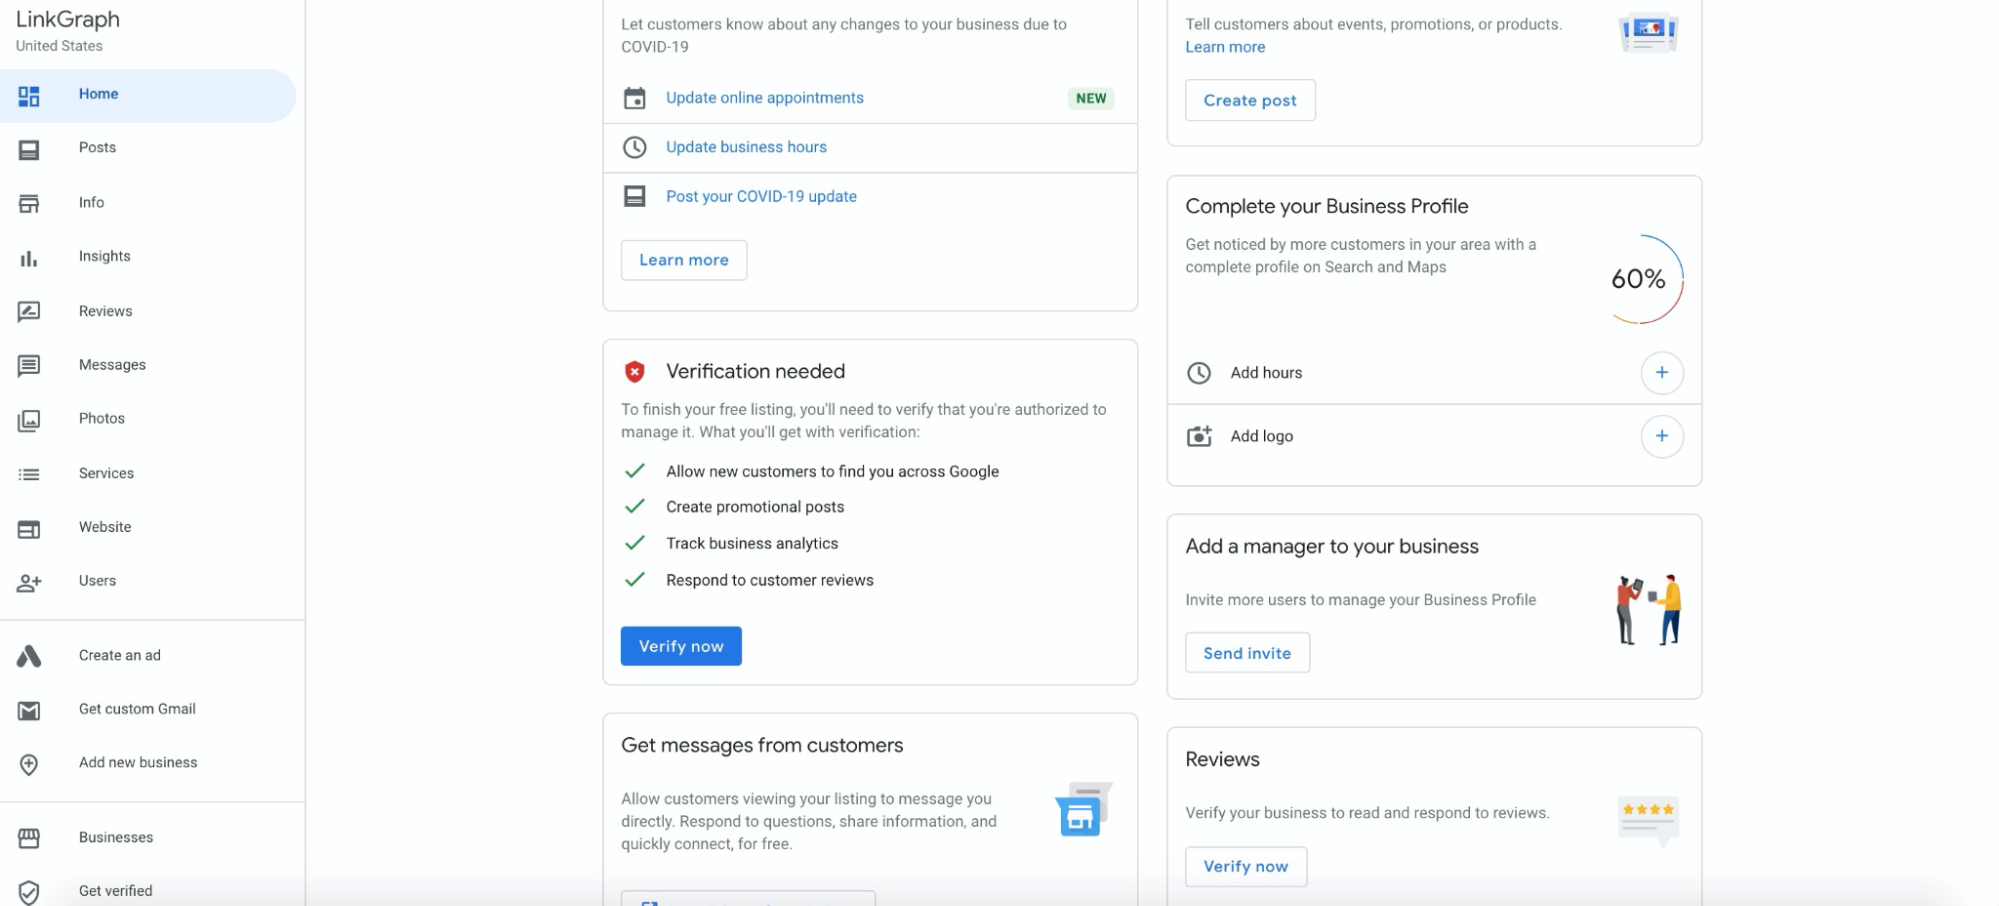
After you’ve completed these steps, you’re all set to take full advantage of this free tool with your Google Business Profile Manager. From here you can update your profile or business information, create ads, set up your business Gmail account, and more.
Updated from Google My Business to Google Business Profile
Google My Business (GMB) transformed into Google Business Profile in November of 2021 with a simple update and new name. Google Business Profile is still a free tool that helps small businesses and larger businesses have greater control over their presence and image among Google’s local listings.
More importantly, this tool continues to help businesses gain visibility in Google’s search results Google Business Profile provides all the perks of Google My Business, including a dashboard that makes tracking and updating your business easy, plus this tool allows you to respond to reviews easily, view insights into your website’s performance, and changing your location if needed.
What’s New on Google Business Profile?
Along with a new name, there are some new features to help business owners. A favorite among business owners is the ability to edit your business listing from Google’s search results page or Google Maps. On your Google search page, you can also easily access Google Ads and customer data.
How to Make the Most of Your Google Business Profile?
Within your profile dashboard, you have a number of ways to capture users, including creating posts, adding your business logo, and activating an online scheduling option. You can also install the Google My Business app for easier access and more prompt responses to customers.
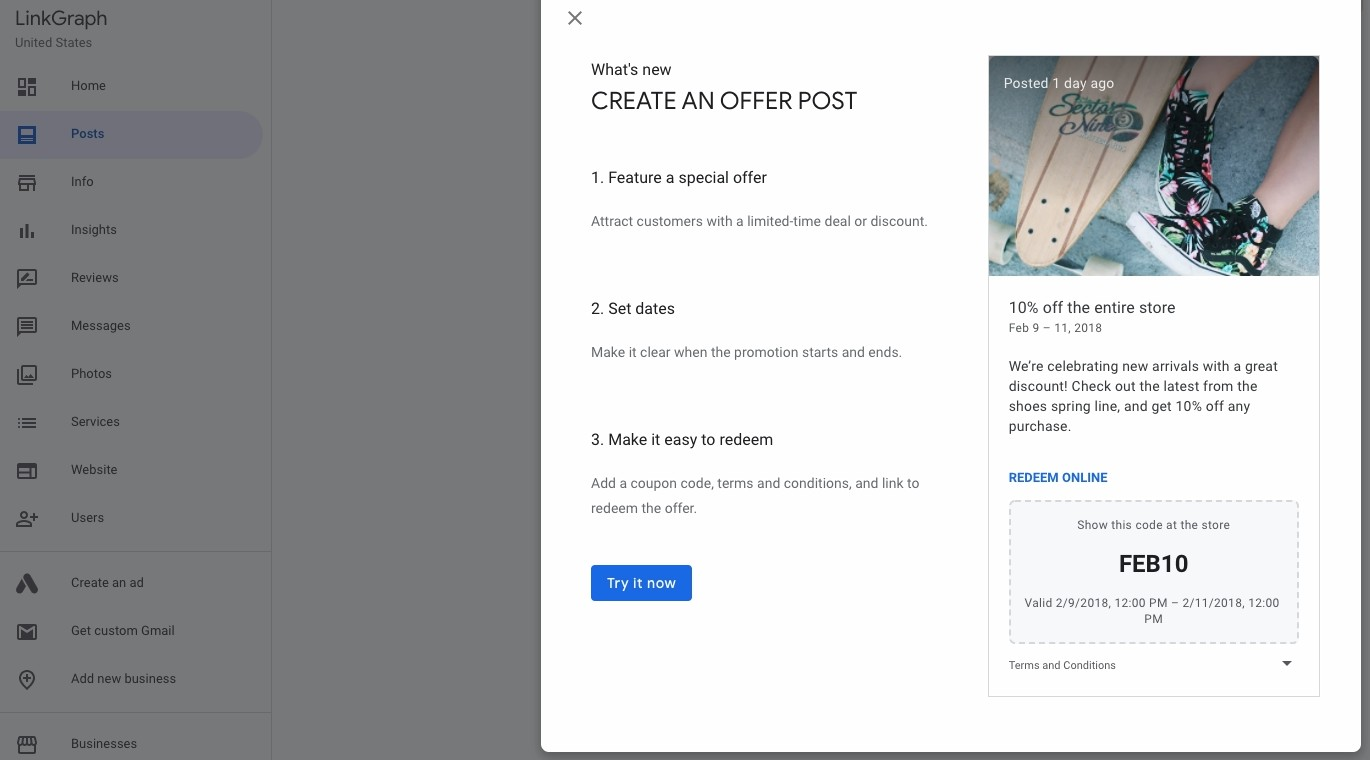
Create Discount and Promo Posts
Within your BPM dashboard, you have a number of ways to capture users, starting with creating posts. This feature allows you to highlight news regarding your company, promote upcoming events, and offer promotional codes exclusive to Google users.
These posts will be displayed under your GBP listing.
Add Your Products or Services
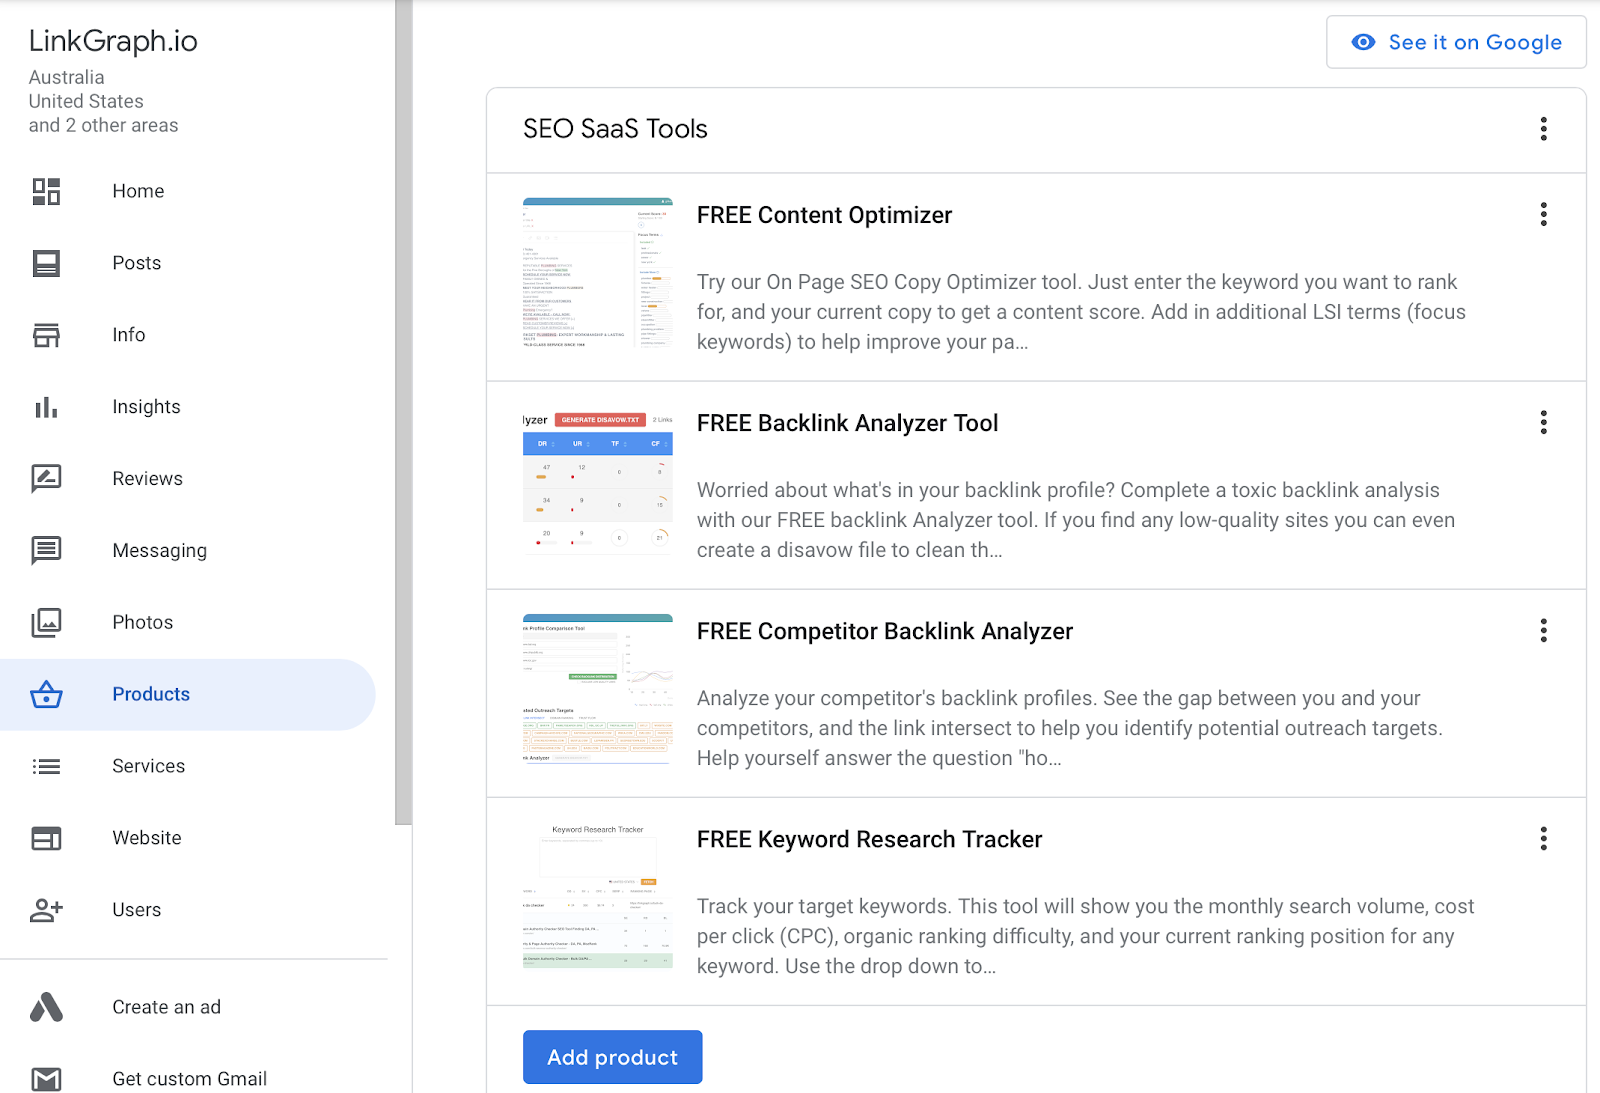
You can also add your products and services to make your business profile more dynamic and your business offerings easier for users to find from search. These also display below your GBP listing.
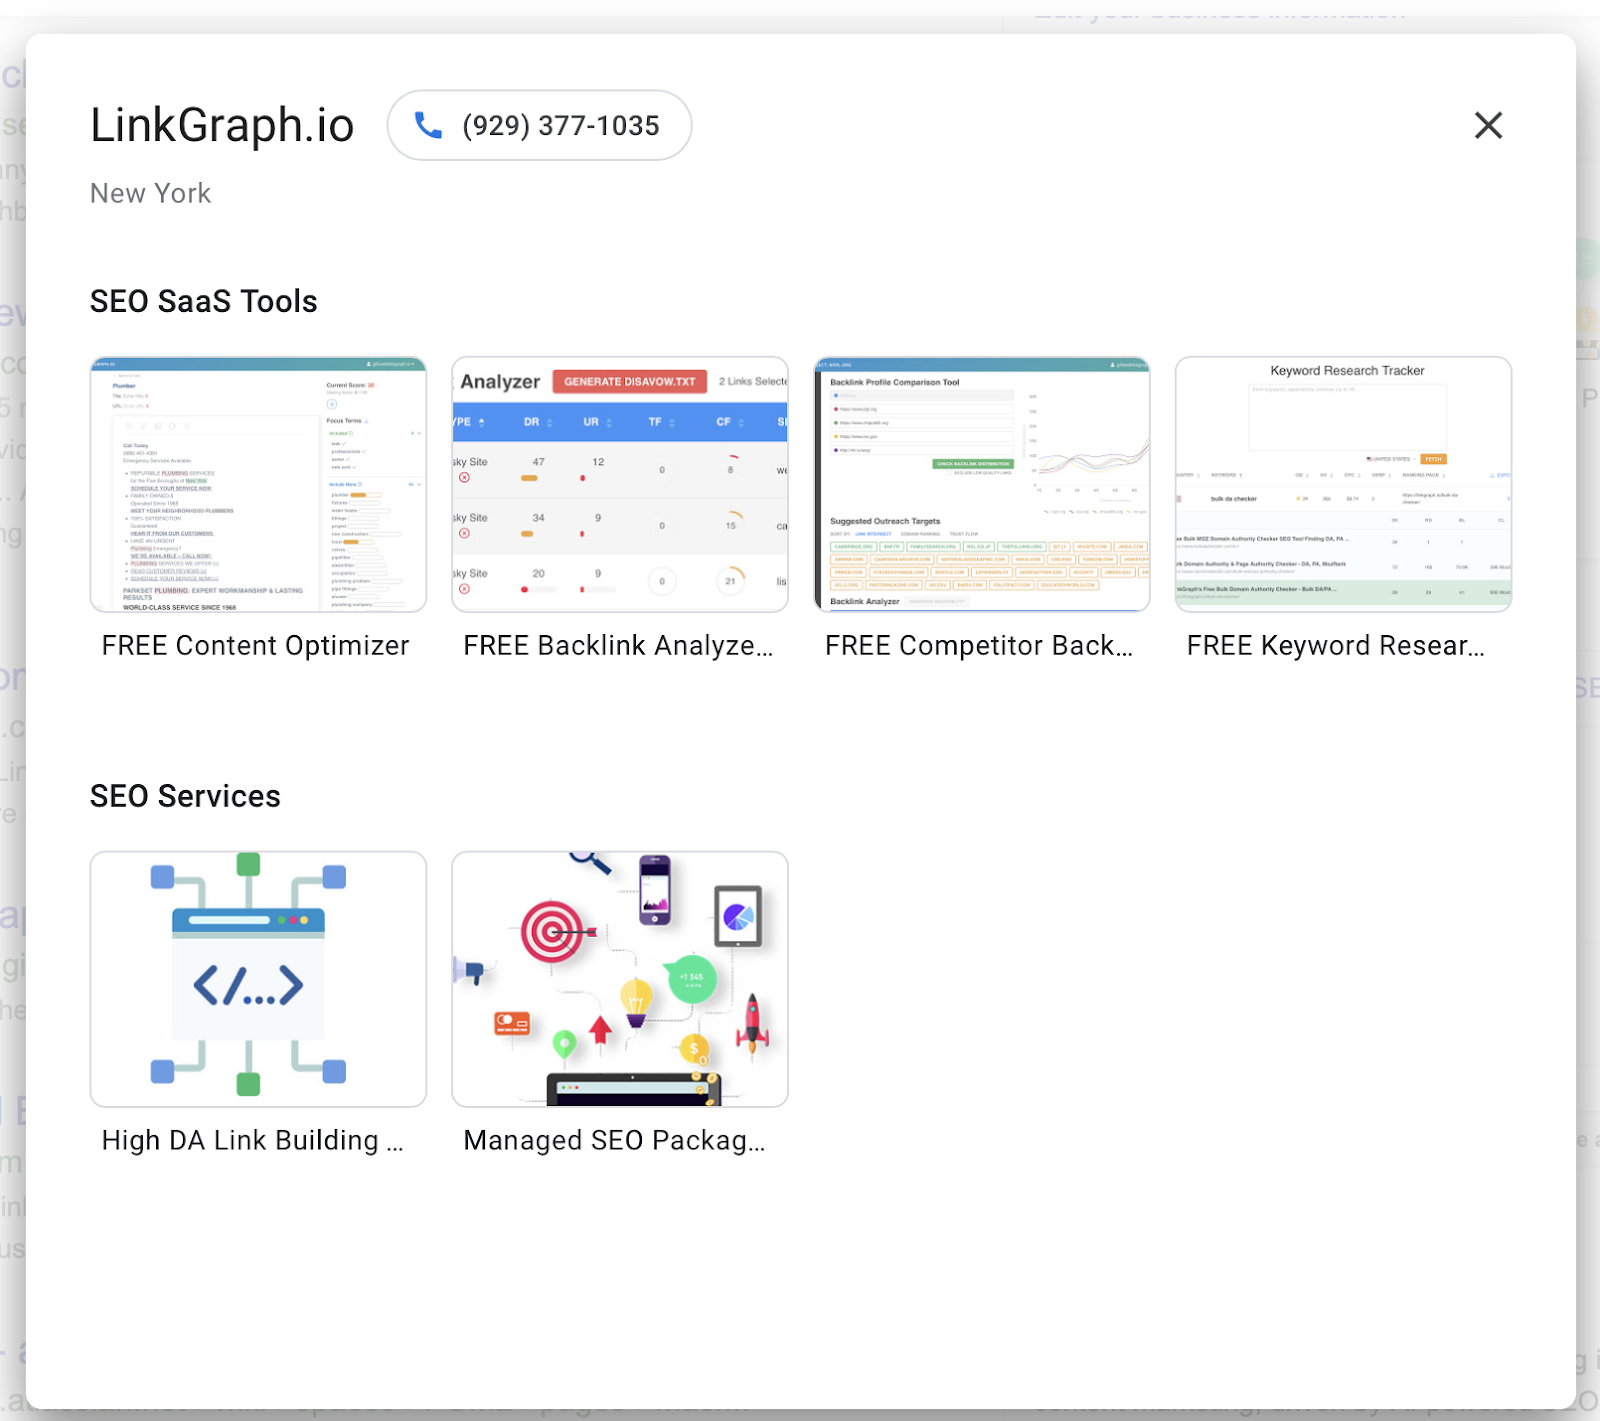
And if users click in to explore a category they will be able to see a full listing of your products and services.
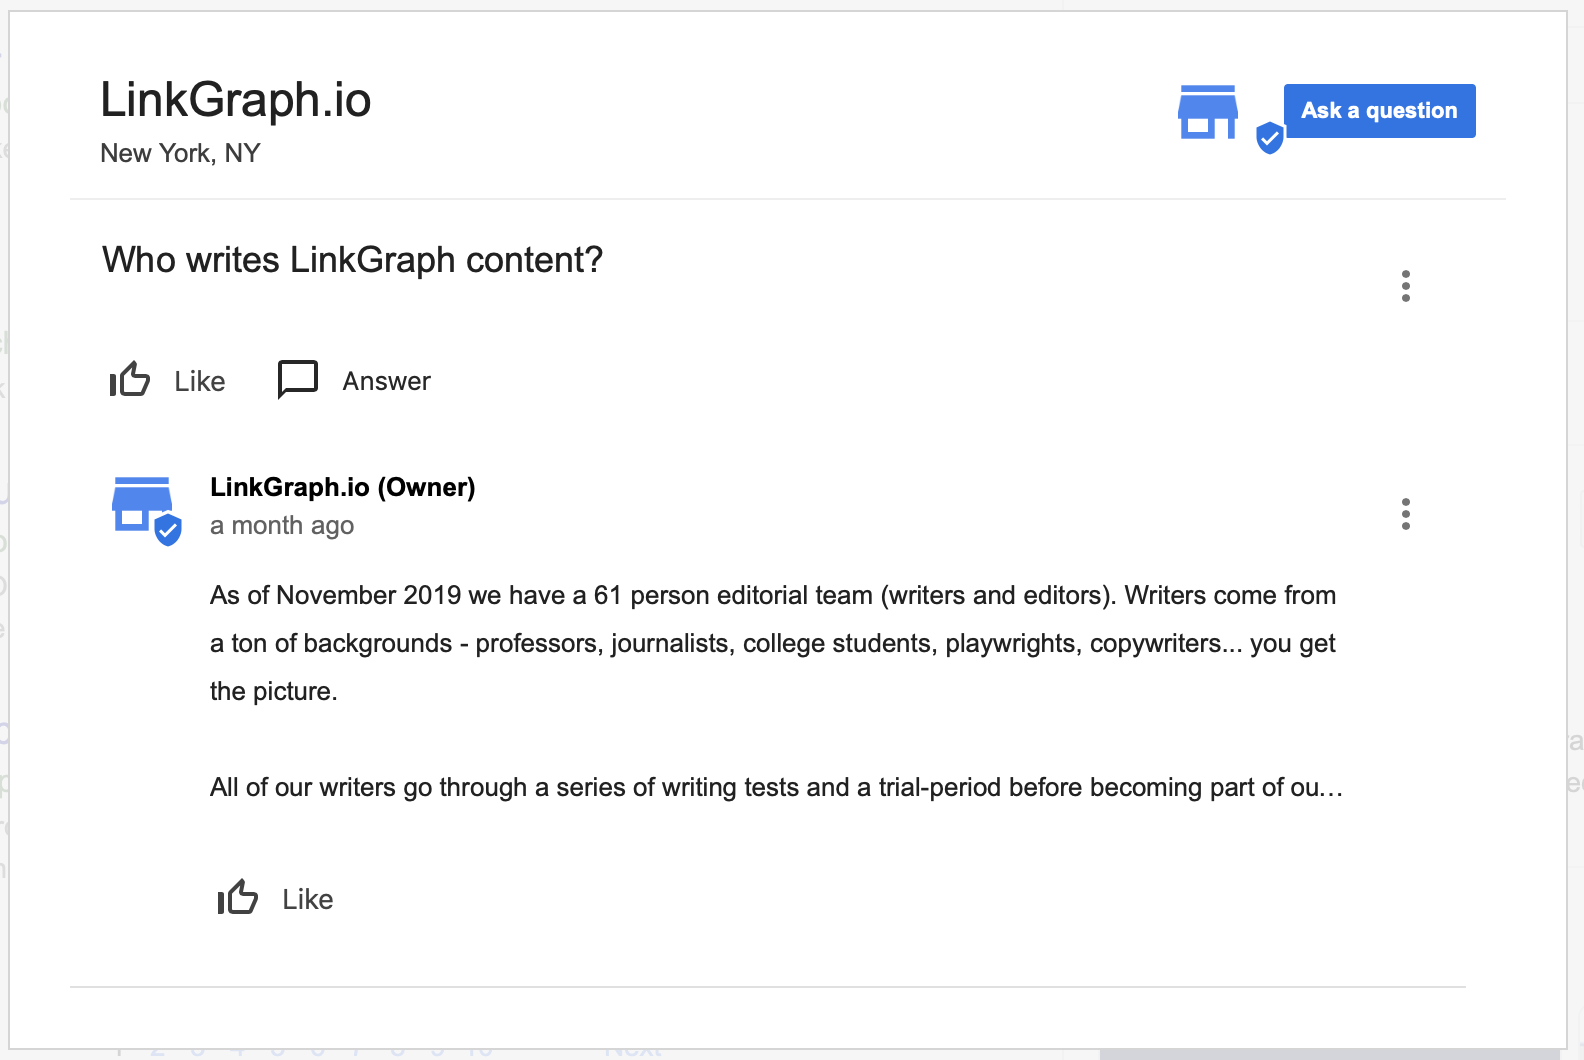
Take Advantage of Your GBP Listing’s Q&A
You can also use your GBP listing to interact with potential customers through Questions & Answers.

As a business, you can answer questions submitted by customers or searchers looking for a business like yours.
Some business owners and marketing professionals use this section to their benefit by posting questions themselves, then, providing insightful, thorough answers. In a way, this space can become your own FAQ that customers can access before ever clicking into your site.
Set Up GBP on Your Phone to Access Customer Chat
Your GBP listing also allows you to set up a direct chat with customers through the Google My Business App.
Add Rocket Fuel to Your Sales by Collecting Reviews
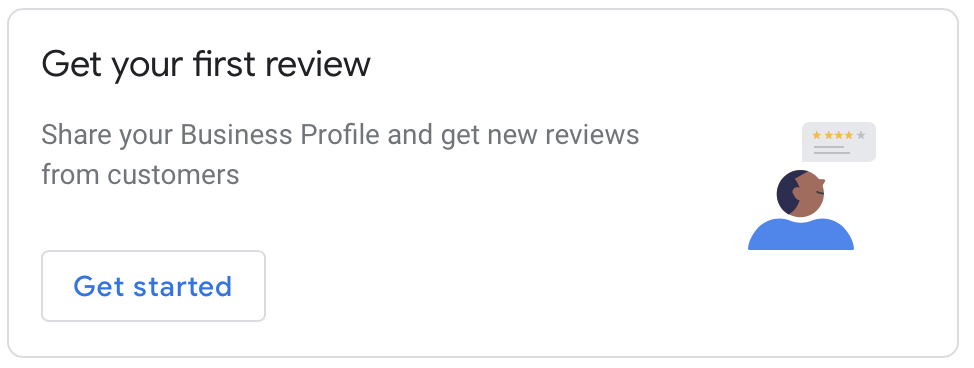
Finally, use the link provided in your GBP console to collect reviews for your business. Reviews are one of the most powerful tools to increase sales. Why? People trust reviews from customers more than they do advertising from a business. Additionally, having a history of reviews is a significant Google search ranking factor for local businesses as a major factor in local SEO.
So, after you sign up, use your GPB link to invite people to leave you reviews.
Respond to Customer Reviews
Once you have reviews coming in, you should review them regularly. Respond (kindly & helpfully) to any negative reviews. Responding well to customer complaints will help your SEO and help other customers take bad reviews less negatively.
Some pointers for responding to negative reviews:
-
Check the Review is Real
First, check that the negative review is a legitimate review. Keep in mind there are often innocent reasons why someone may accidentally leave your large or small business a review without having patronized your establishment or used your services. Sometimes people can get confused about where they were.
Be mindful, other businesses may leave negative reviews for competitors, too. If this is the case, don’t engage – simply flag the review to Google for removal.
Types of reviews you can flag for removal:
- Spam and fake content
- Off-topic
- Restricted content
- Illegal content
- Terrorist content
- Sexually explicit content
- Offensive content
- Dangerous & Derogatory Content
- Impersonation
- Conflict of Interest
How to flag a review for removal:
- Go to the review
- Tap or click “More”
- Select either “Flag Review” (from your GBP account) or “Report Review” (from Google Maps).
Pro-tip: The more people who report a review for removal, the more likely that review will be removed.
2. When Responding to a Bad Review, Remember to Apologize
Apologize, even if the business did nothing wrong – if nothing else you can apologize that your business wasn’t able to make their experience better or more positive.
3. Offer to Take the Conversation Offline
Take the conversation out of the reviews – invite them to reach out to you directly via phone and email.
Include Light Promotion
Insert a small marketing line. If they complained about service something like “We apologize that we didn’t live up to our normally excellent standard of service…”
-
Brief is Better
Keep it short! Three to four-sentence responses to negative reviews are your best bet, in these situations less is more. Getting into details or blaming the customer can seem defensive and make other customers think less of the business, and being too long-winded can come across as defensive. Be brief, courteous, and positive.
-
Offer to fix the situation (if possible)
Invite the person back with a discount, or for free to rectify the problem. Or find another way to make it right.
Step 13: Rank Higher with Expert Insight
As a business owner, it can be quite difficult to keep up with engaging users regularly through your Business Profile. Add Google Ads into the equation, and you may find yourself keeping full-time hours in addition to running your business. If you want to see your rankings improve and your revenue grow, LinkGraph’s team of SEO experts is ready to help maximize your business’s potential.